Automatic Speech Recognition with NVIDIA NeMo
This an example of using Nvidia’s NeMo toolkit for creating Automatic Speech Recognition (ASR), Natural Language Understanding (NLU) or Text-to-Speech (TTS) pre-annotations.
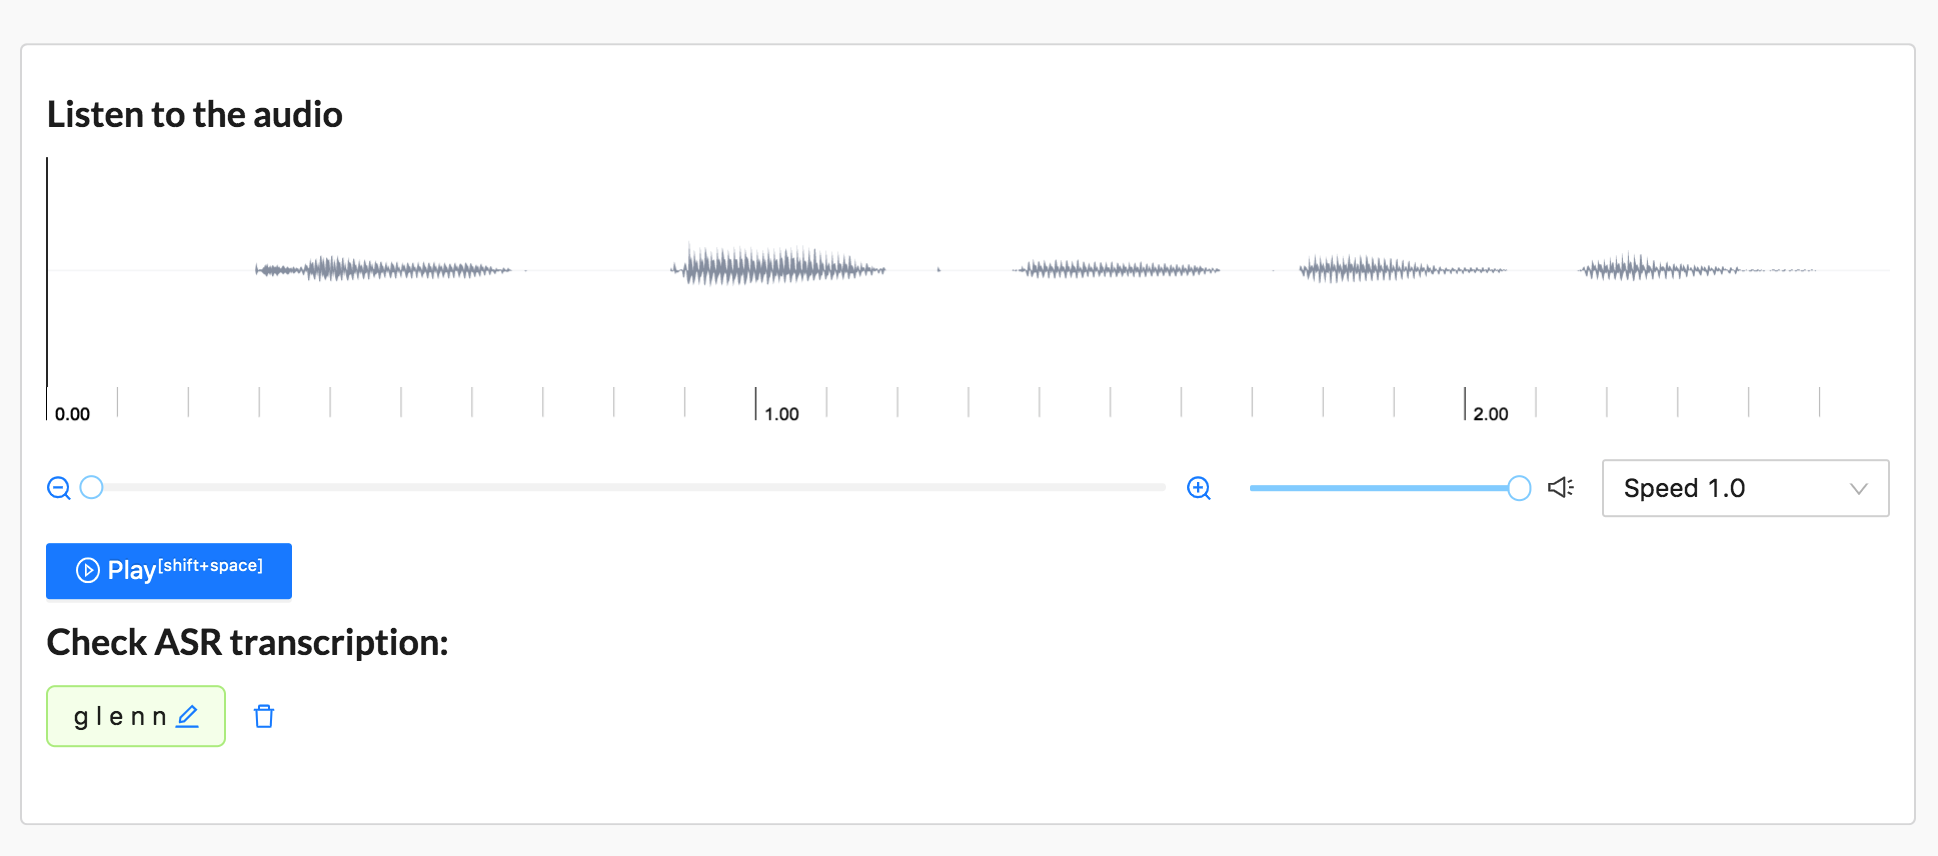
With the NeMo ASR models, you can create audio pre-annotations with a text area, aka transcriptions.
Start using it
Follow this installation guide to set up the NeMo environment.
On the same server or Docker container as NeMo, install Label Studio.
Install the Label Studio machine learning backend. From the command line, run the following:
git clone https://github.com/heartexlabs/label-studio-ml-backendSet up the Label Studio ML backend environment:
cd label-studio-ml-backend
# Install label-studio-ml and its dependencies
pip install -U -e .
# Install the nemo example dependencies
pip install -r label_studio_ml/examples/requirements.txt
Initialize the Label Studio machine learning backend with the ASR example
label-studio-ml init my_model --from label_studio_ml/examples/nemo/asr.pyStart the machine learning backend. By default, the model starts on localhost with port 9090.
label-studio-ml start my_modelStart Label Studio:
label-studio start my_project --initIn Label Studio, open the Settings page for your project and open the Labeling Interface section.
From the template list, select
Automatic Speech Recognition. You can also create your own with<TextArea>and<Audio>tags. Or copy this labeling config into the Label Studio UI:<View> <Audio name="audio" value="url" zoom="true" hotkey="ctrl+enter" /> <Header value="Provide Transcription" /> <TextArea name="answer" transcription="true" toName="audio" rows="4" editable="true" maxSubmissions="1" /> </View>In your project settings, open the Machine Learning page in the Label Studio UI.
note
It takes some time to download models from the NeMo engine. The Label Studio UI might hang until the models finish automatically downloading.
Click Add Model and add the ML backend using this URL:
http://localhost:9090.Import audio data and start reviewing pre-annotations.