Video Object Detection and Tracking
Video object detection is aimed at detecting object in a video stream with bounding boxes, as opposed to Image object detection with static images.
Video object tracking is a further extension where detected objects are tracked as they move around video frames, in both spatial and temporal directions.
The illustrated templates provide both manual and automatic ways of tracking objects in videos. In addition to the new video player that supports frame-by-frame video object tracking, the latest release also features a new annotation user interface that is more efficient, ergonomic, and flexible.
important
- Video classification and object tracking were available to preview prior to Label Studio version 1.6, but these features are now fully functional and production-ready.
- In Label Studio Enterprise, the video object tracking is called video labeling for video object detection.
- The supported video formats are
mpeg4/H.264 webpandwebm. The supported video format also depends on the browser, and any pre-conversions from the customer's side.
Prerequisites
The prerequisites to use the video object detection feature are as follows:
- Prepare the data set that must be labeled.
- Use the data label and tool that supports it.
- Use the video player that is available for the video classification.
- Put all the bounding boxes onto the screen.
Key features supported
The following key features are supported by the video player.
- The video and object detection use case using the bounding box on the video.
- Video segmentation for the video by creating rectangles on the video.
important
In the future releases, Timeline segmentation will allow you to label a conversation based on the timeline.
Labeling Configuration
The simplest way to get object detection and tracking project is to go in project settings and specify the following labeling configuration.
<View>
   <Header>Label the video:</Header>
   <Video name="video" value="$video" framerate="25.0"/>
   <VideoRectangle name="box" toName="video" />
   <Labels name="videoLabels" toName="video" allowEmpty="true">
     <Label value="Man" background="blue"/>
     <Label value="Woman" background="red"/>
     <Label value="Other" background="green"/>
   </Labels>
</View>
About the labeling configuration
All labeling configurations must be wrapped in View tags.
You can add a header to provide instructions to the annotator:
<Header>Label the video:</Header>Use the Video object tag to specify the video data. The framerate parameter sets the frame rate of all videos in the project. Check all available parameters on the tag page reference.
<Video name="video" value="$video" framerate="25.0"/>Use the VideoRectangle control tag to allow annotators to add rectangles to video frames:
<VideoRectangle name="box" toName="video" />Use the Labels control tag to specify labels that can be added to the rectangle regions added to the video frames:
<Labels name="videoLabels" toName="video" allowEmpty="true">
    <Label value="Man" background="blue"/>
    <Label value="Woman" background="red"/>
    <Label value="Other" background="green"/>
</Labels>
You can replace and add more labels inside <Labels> section that correspond to your annotation scenario.
Input data
The input data by means of video stream URL is specified by value attribute in the <Video> tag.
For the example above, the following importing JSON format is expected:
{
  "video": "https://htx-pub.s3.amazonaws.com/samples/opossum_snow.mp4"
}
Output data
The annotated data consists of manually created keyframes, as well as optionally interpolated keyframes. Here is a JSON schema explained:
| JSON key | type | Description |
|---|---|---|
| id | string | region (tracked object) ID |
| type | string | “videorectangle” |
| value.labels | list of strings | object label(s) |
| value.duration | numeric | total duration of object lifespan in video stream (in seconds) |
| value.sequence | list of objects | list of keyframes |
The keyframe format inside value.sequence list is the following:
| JSON key | type | Description |
|---|---|---|
| x | numeric | x-axis bounding box coordinate (top-left corner orientation with left to right stride) |
| y | numeric | y-axis bounding box coordinate (top-left corner orientation with top to bottom stride) |
| time | numeric | keyframe time absolute time position (in seconds) |
| frame | numeric | keyframe index position (in frames starting from 0) |
| width | numeric | bounding box width in the current frame |
| height | numeric | bounding box height in the current frame |
| rotation | numeric | bounding box rotation angle in the current frame (clock-wise) |
| enabled | boolean | Whether the consequent frames interpolation is toggled on / off (for example, to label occlusion) |
Example
{
  "id": "d1111333b6",
  "type": "videorectangle",
  "value": {
    "labels": [
      "Other"
    ],
    "duration": 11.96,
    "sequence": [
      {
        "x": 46.71875,
        "y": 6.944444444444445,
        "time": 0.04,
        "frame": 1,
        "width": 4.0625,
        "height": 23.61111111111111,
        "enabled": true,
        "rotation": 0
      },
      {
        "x": 46.640625,
        "y": 6.666666666666667,
        "time": 0.24,
        "frame": 6,
        "width": 4.140625,
        "height": 23.88888888888889,
        "enabled": true,
        "rotation": 0
      }
    ],
    "framesCount": 299
  },
  "origin": "manual",
  "to_name": "video",
  "from_name": "box"
}
Label Studio UI enhancements
The video player functionality includes the following UI enhancements:
- Dual ‘Region’ and ‘Details’ control panels vs. a single sidebar, allowing annotators to view all pertinent information about the task without scrolling.
- Collapsible, draggable and resize-able panels for annotators to customize their workspace, especially useful to view images or video at a larger scale.
- More granular controls for each region, including the ability to precisely set bounding box width, height and coordinates to fit an object for pixel-perfect annotations.
- A cleaner interface to group, organize regions, link, add metadata, and delete regions, plus new functionality to lock regions.
Use cases
The video player provides the following use cases:
- Enhance images, making it easier for annotators to more precisely label blurry images.
- Add keyframes and adjust bounding boxes between keyframes to easily transition bounding box shapes and positions.
- Select and label between timestamps on the video with improved timeline segmentation.
- Use optional hotkey-driven navigation for even greater granularity in tracking objects.
- Label and track objects across subsequent frames using the fine-grained control actions.
- Reconfigure annotation workspaces to simplify labeling larger tasks, including large images and longer videos with many regions.
Video object detection has analytics that are built on top of the video. For example, if you look at a video you will see the bounding boxes that have tracking objects on the video.
Enhance images
In the Label Studio UI, the video interface presents the main video canvas with controls that allows annotators to more precisely label blurry images using the following operations:
Zoom in, zoom out, zoom to fit, or zoom to 100%.
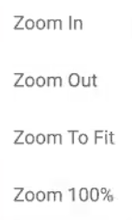
Figure 1: Zoom options.
Tracking zoom options.![]()
Figure 2: Video object tracking zoom options.
Go to the previous keyframe.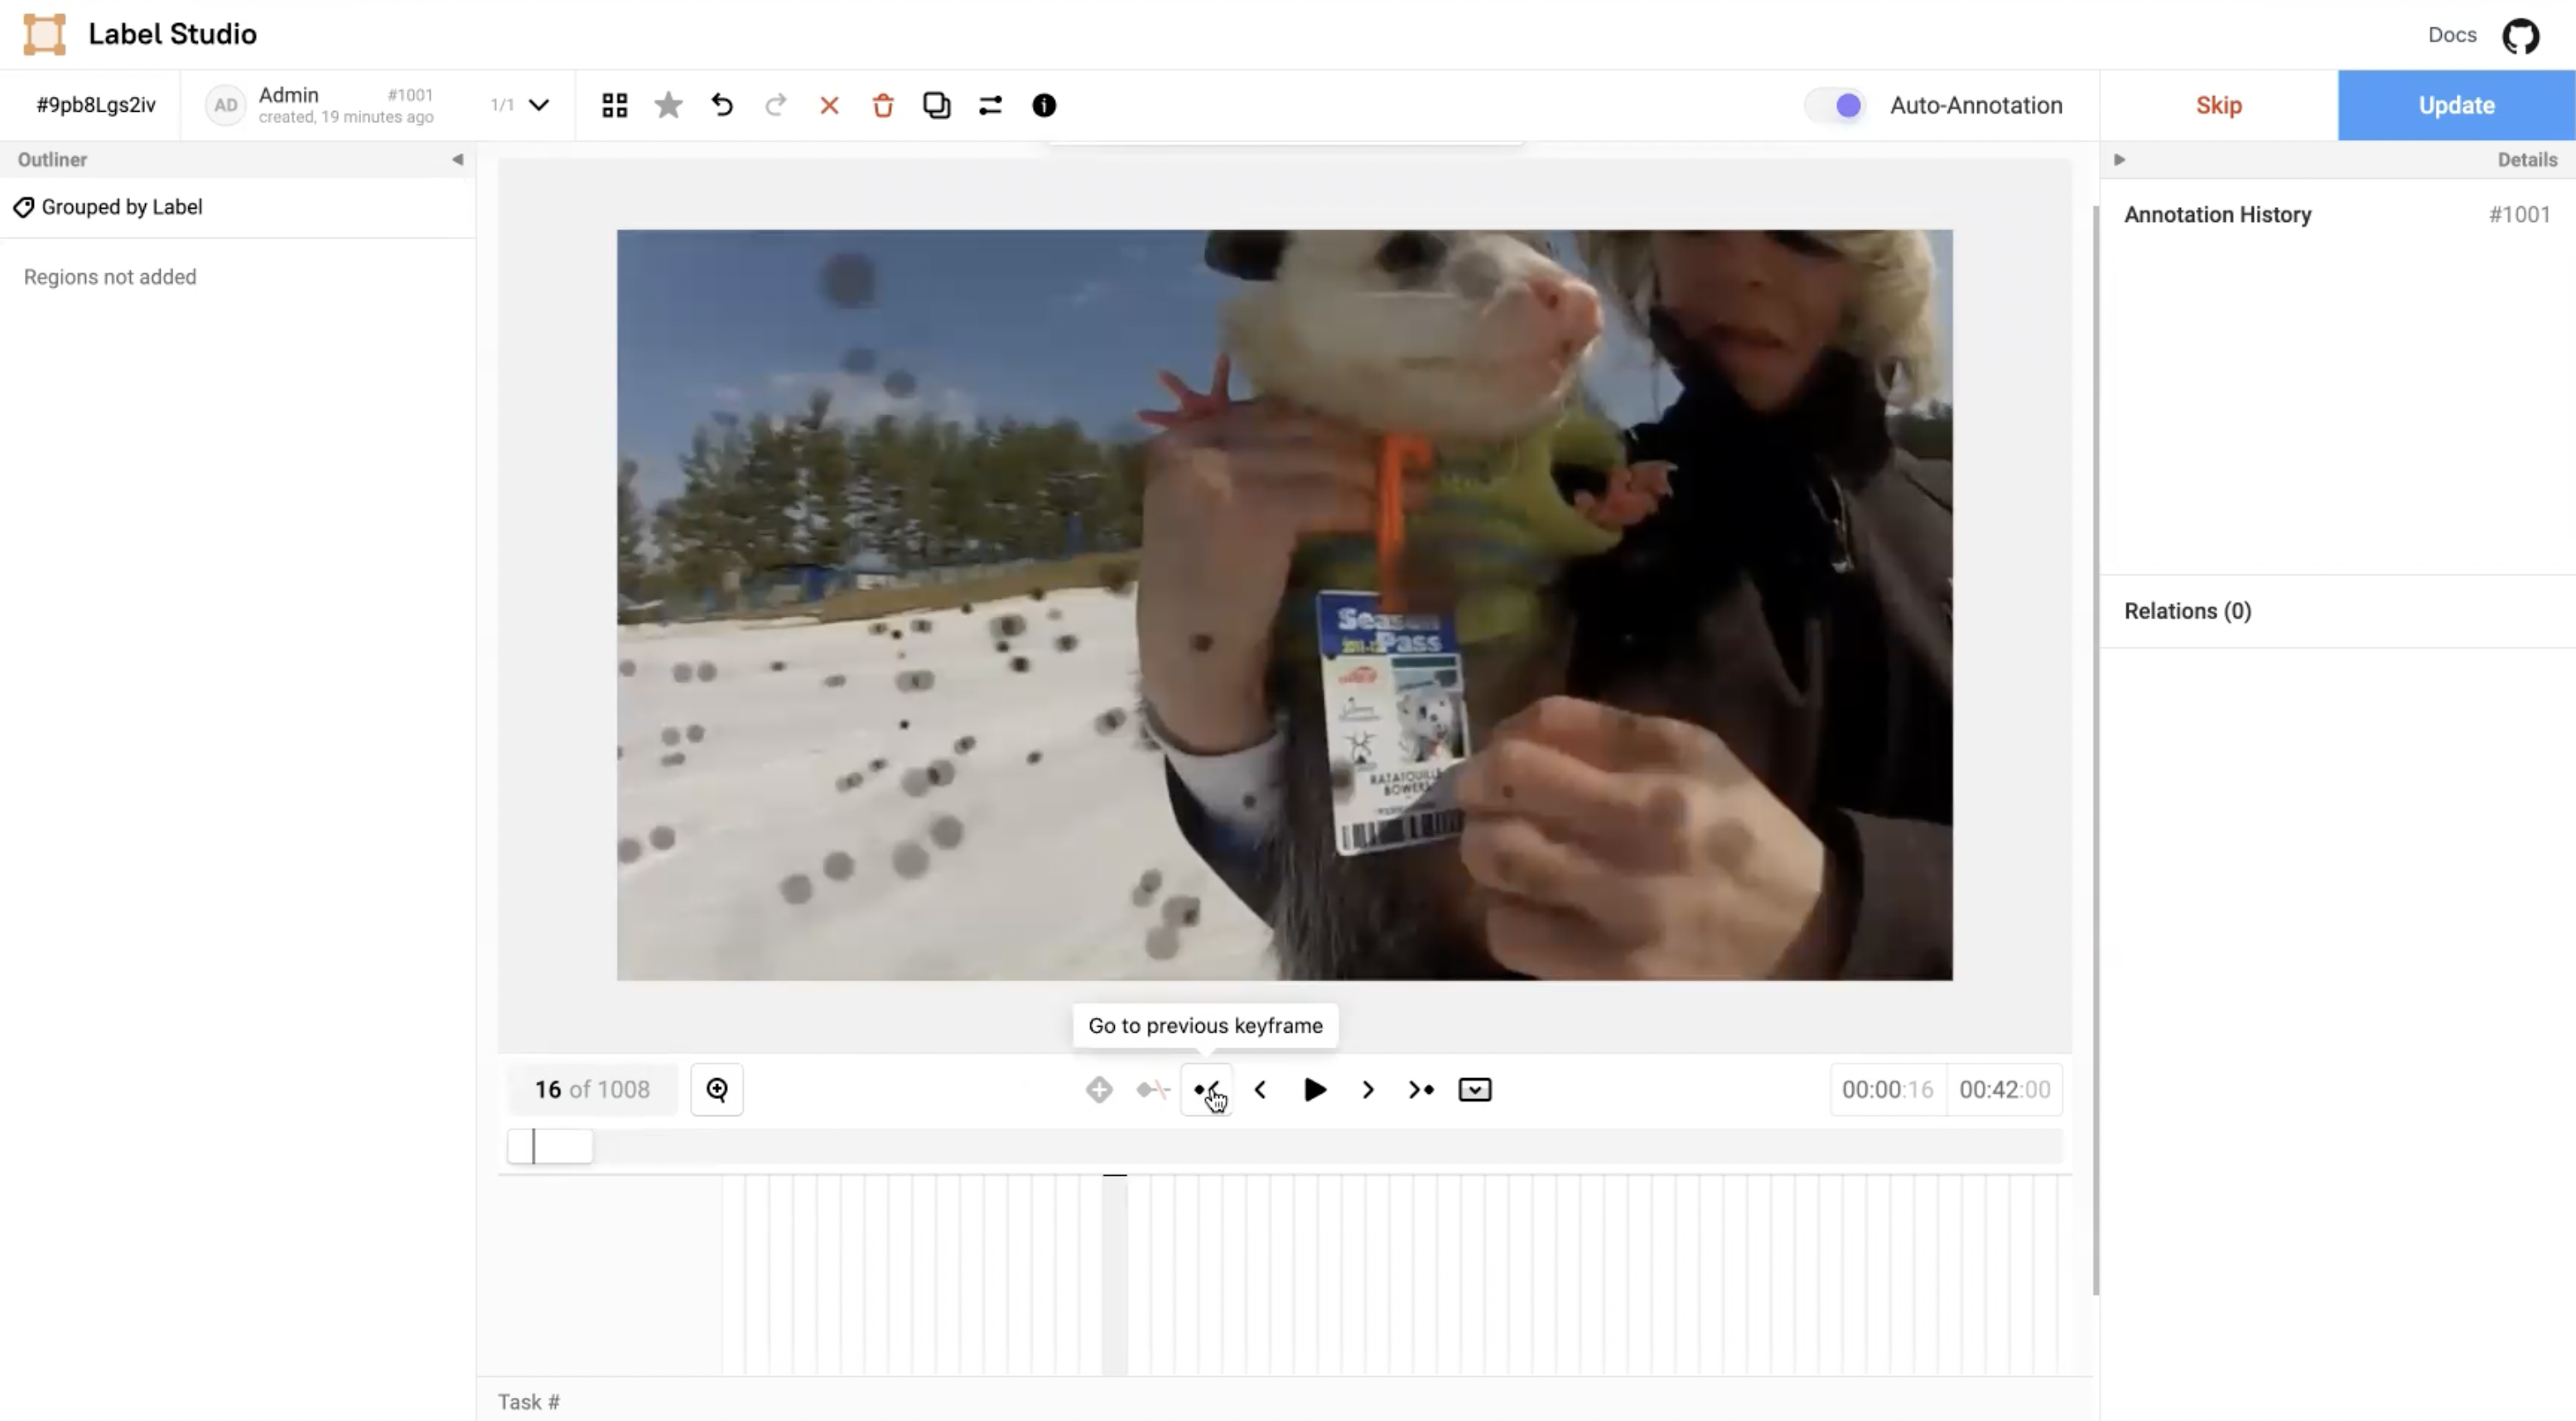
Figure 3: Go to the previous keyframe button.
Go one step back.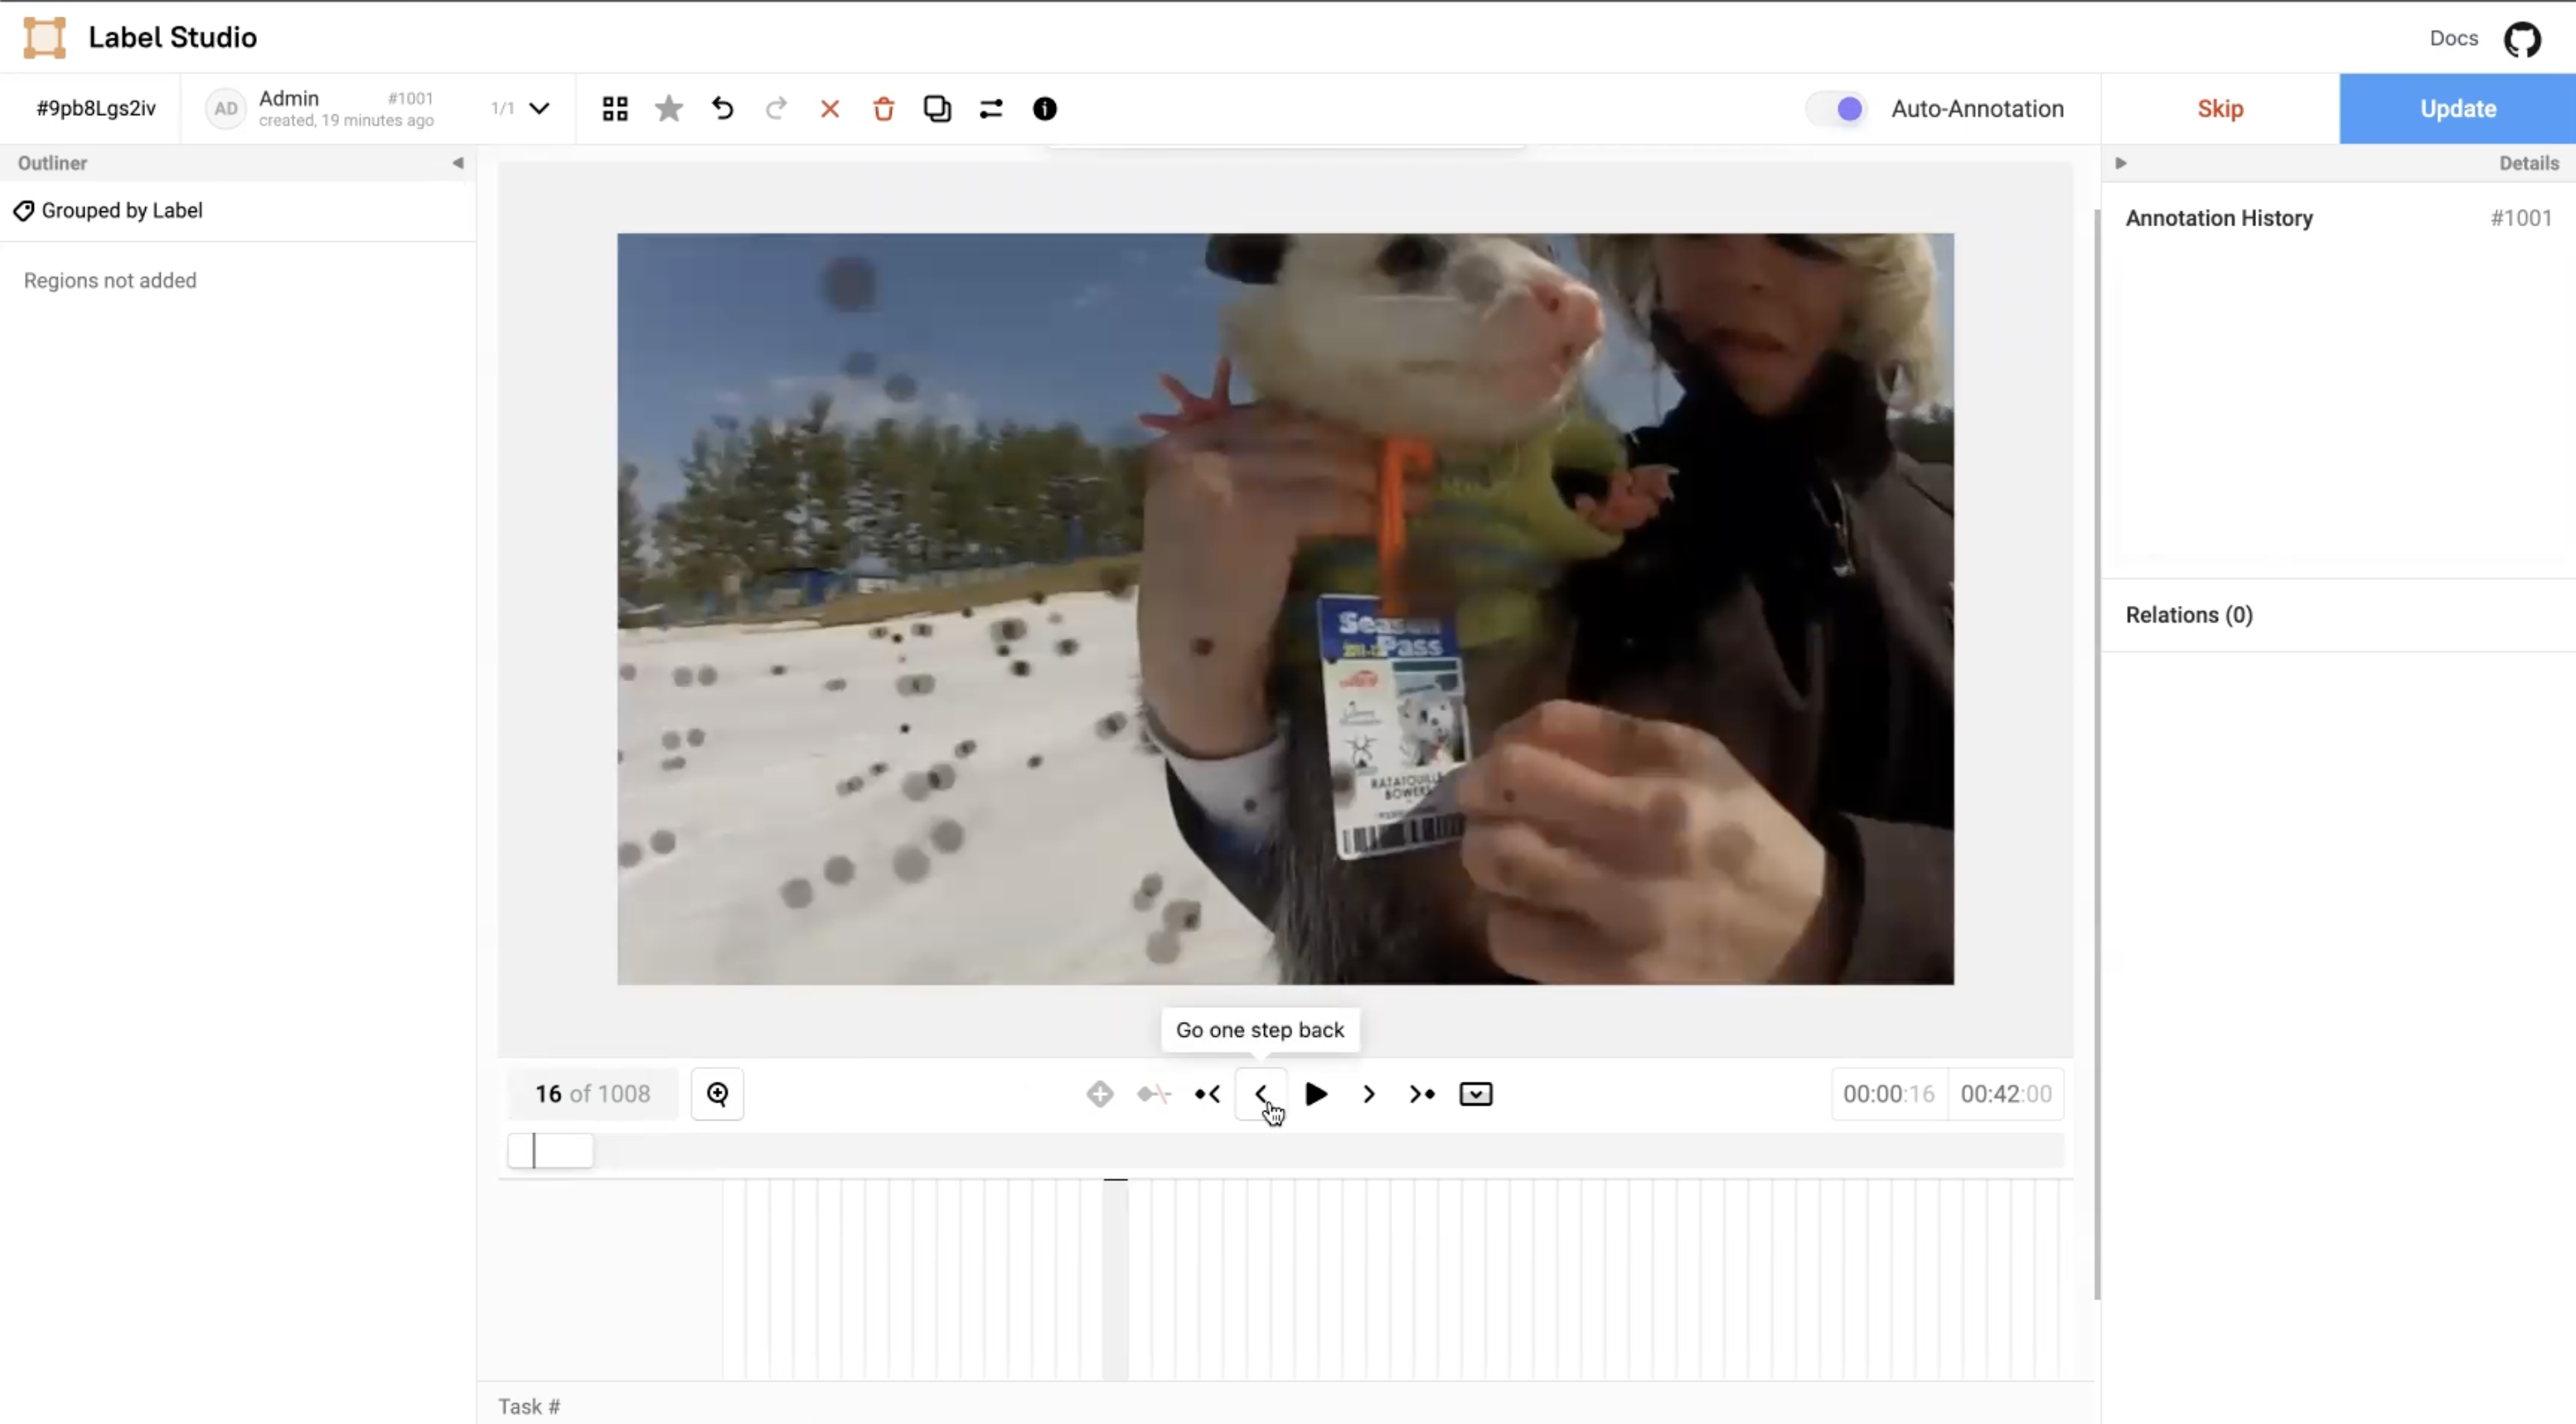
Figure 4: Go one step back button.
Play and pause.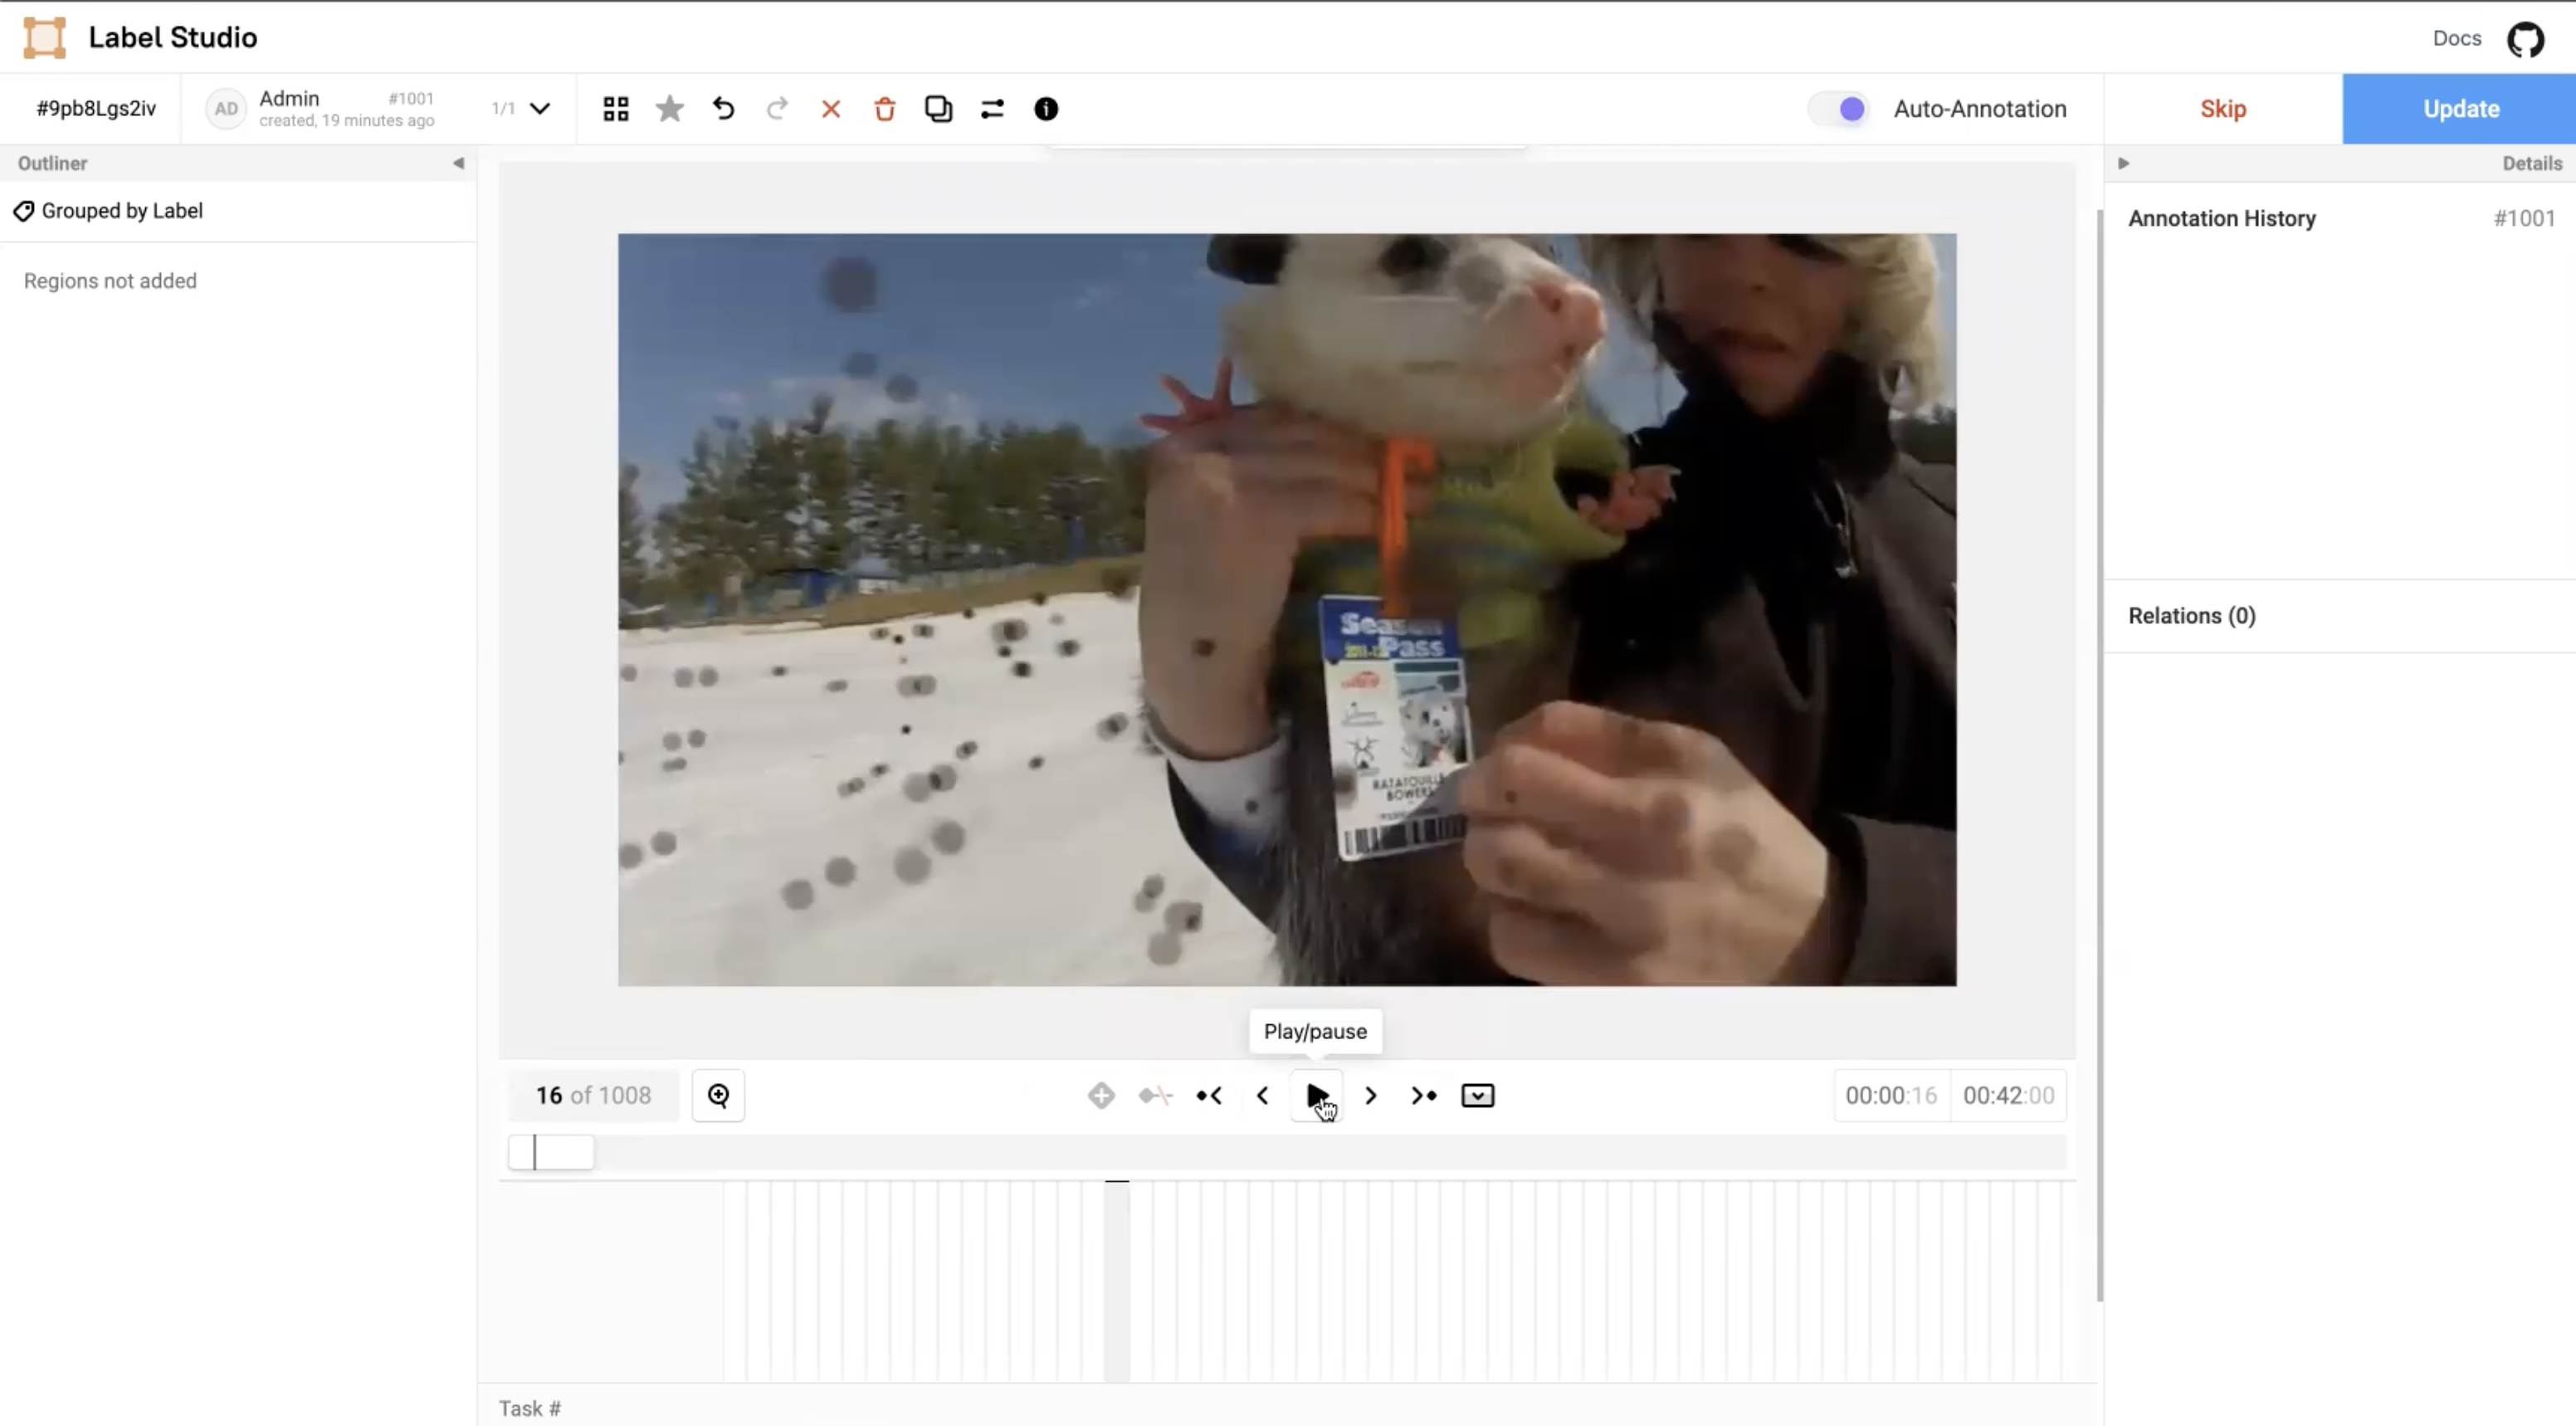
Figure 5: Play and pause button.
Go one step forward.
Figure 6: Go one step forward button.
Go to the next keyframe.
Figure 7: Go to the next keyframe button.
Toggle timeline.
Figure 8: Toggle timeline button.
Add keyframes
In the video player, you can see the number of frames, total frames, and the current one. You can navigate from one frame to the other or a specific frame number. During navigation, key points are added so that you can jump to previous key points or the previous frame.
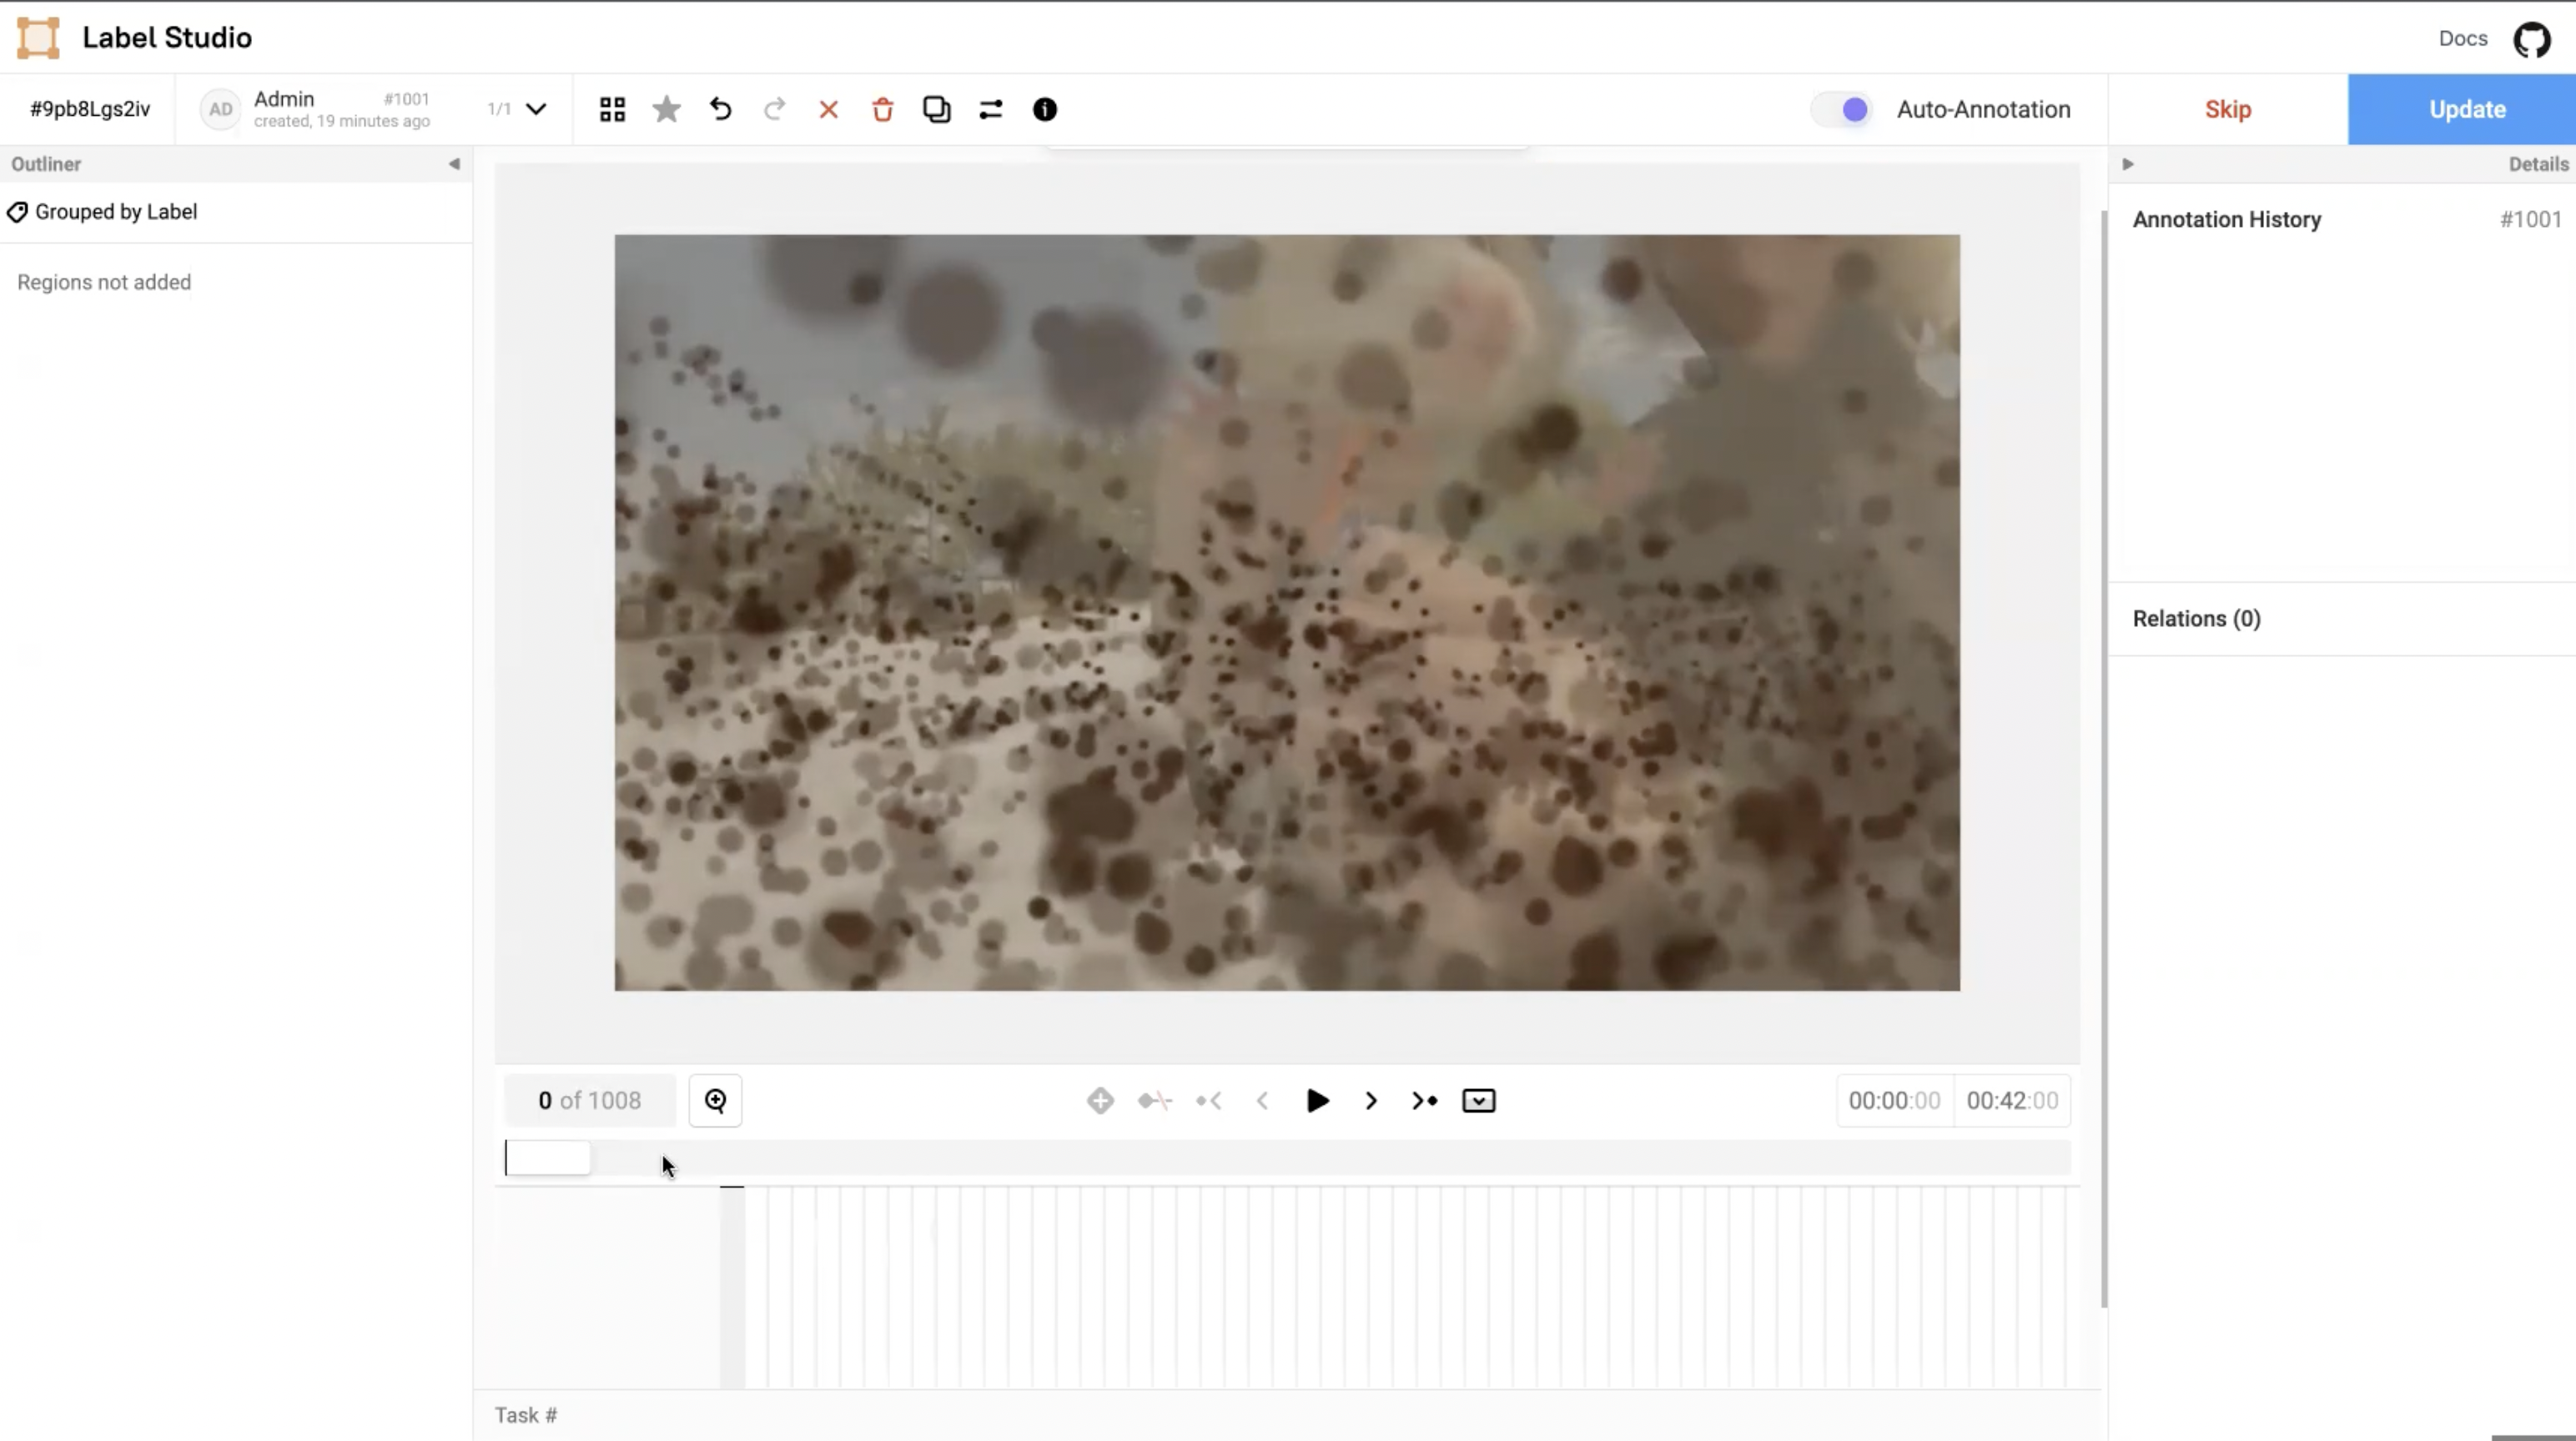 Figure 9: Working with frames.
You can collapse or expand the timeline and also use the timer option to set and adjust the time for a video.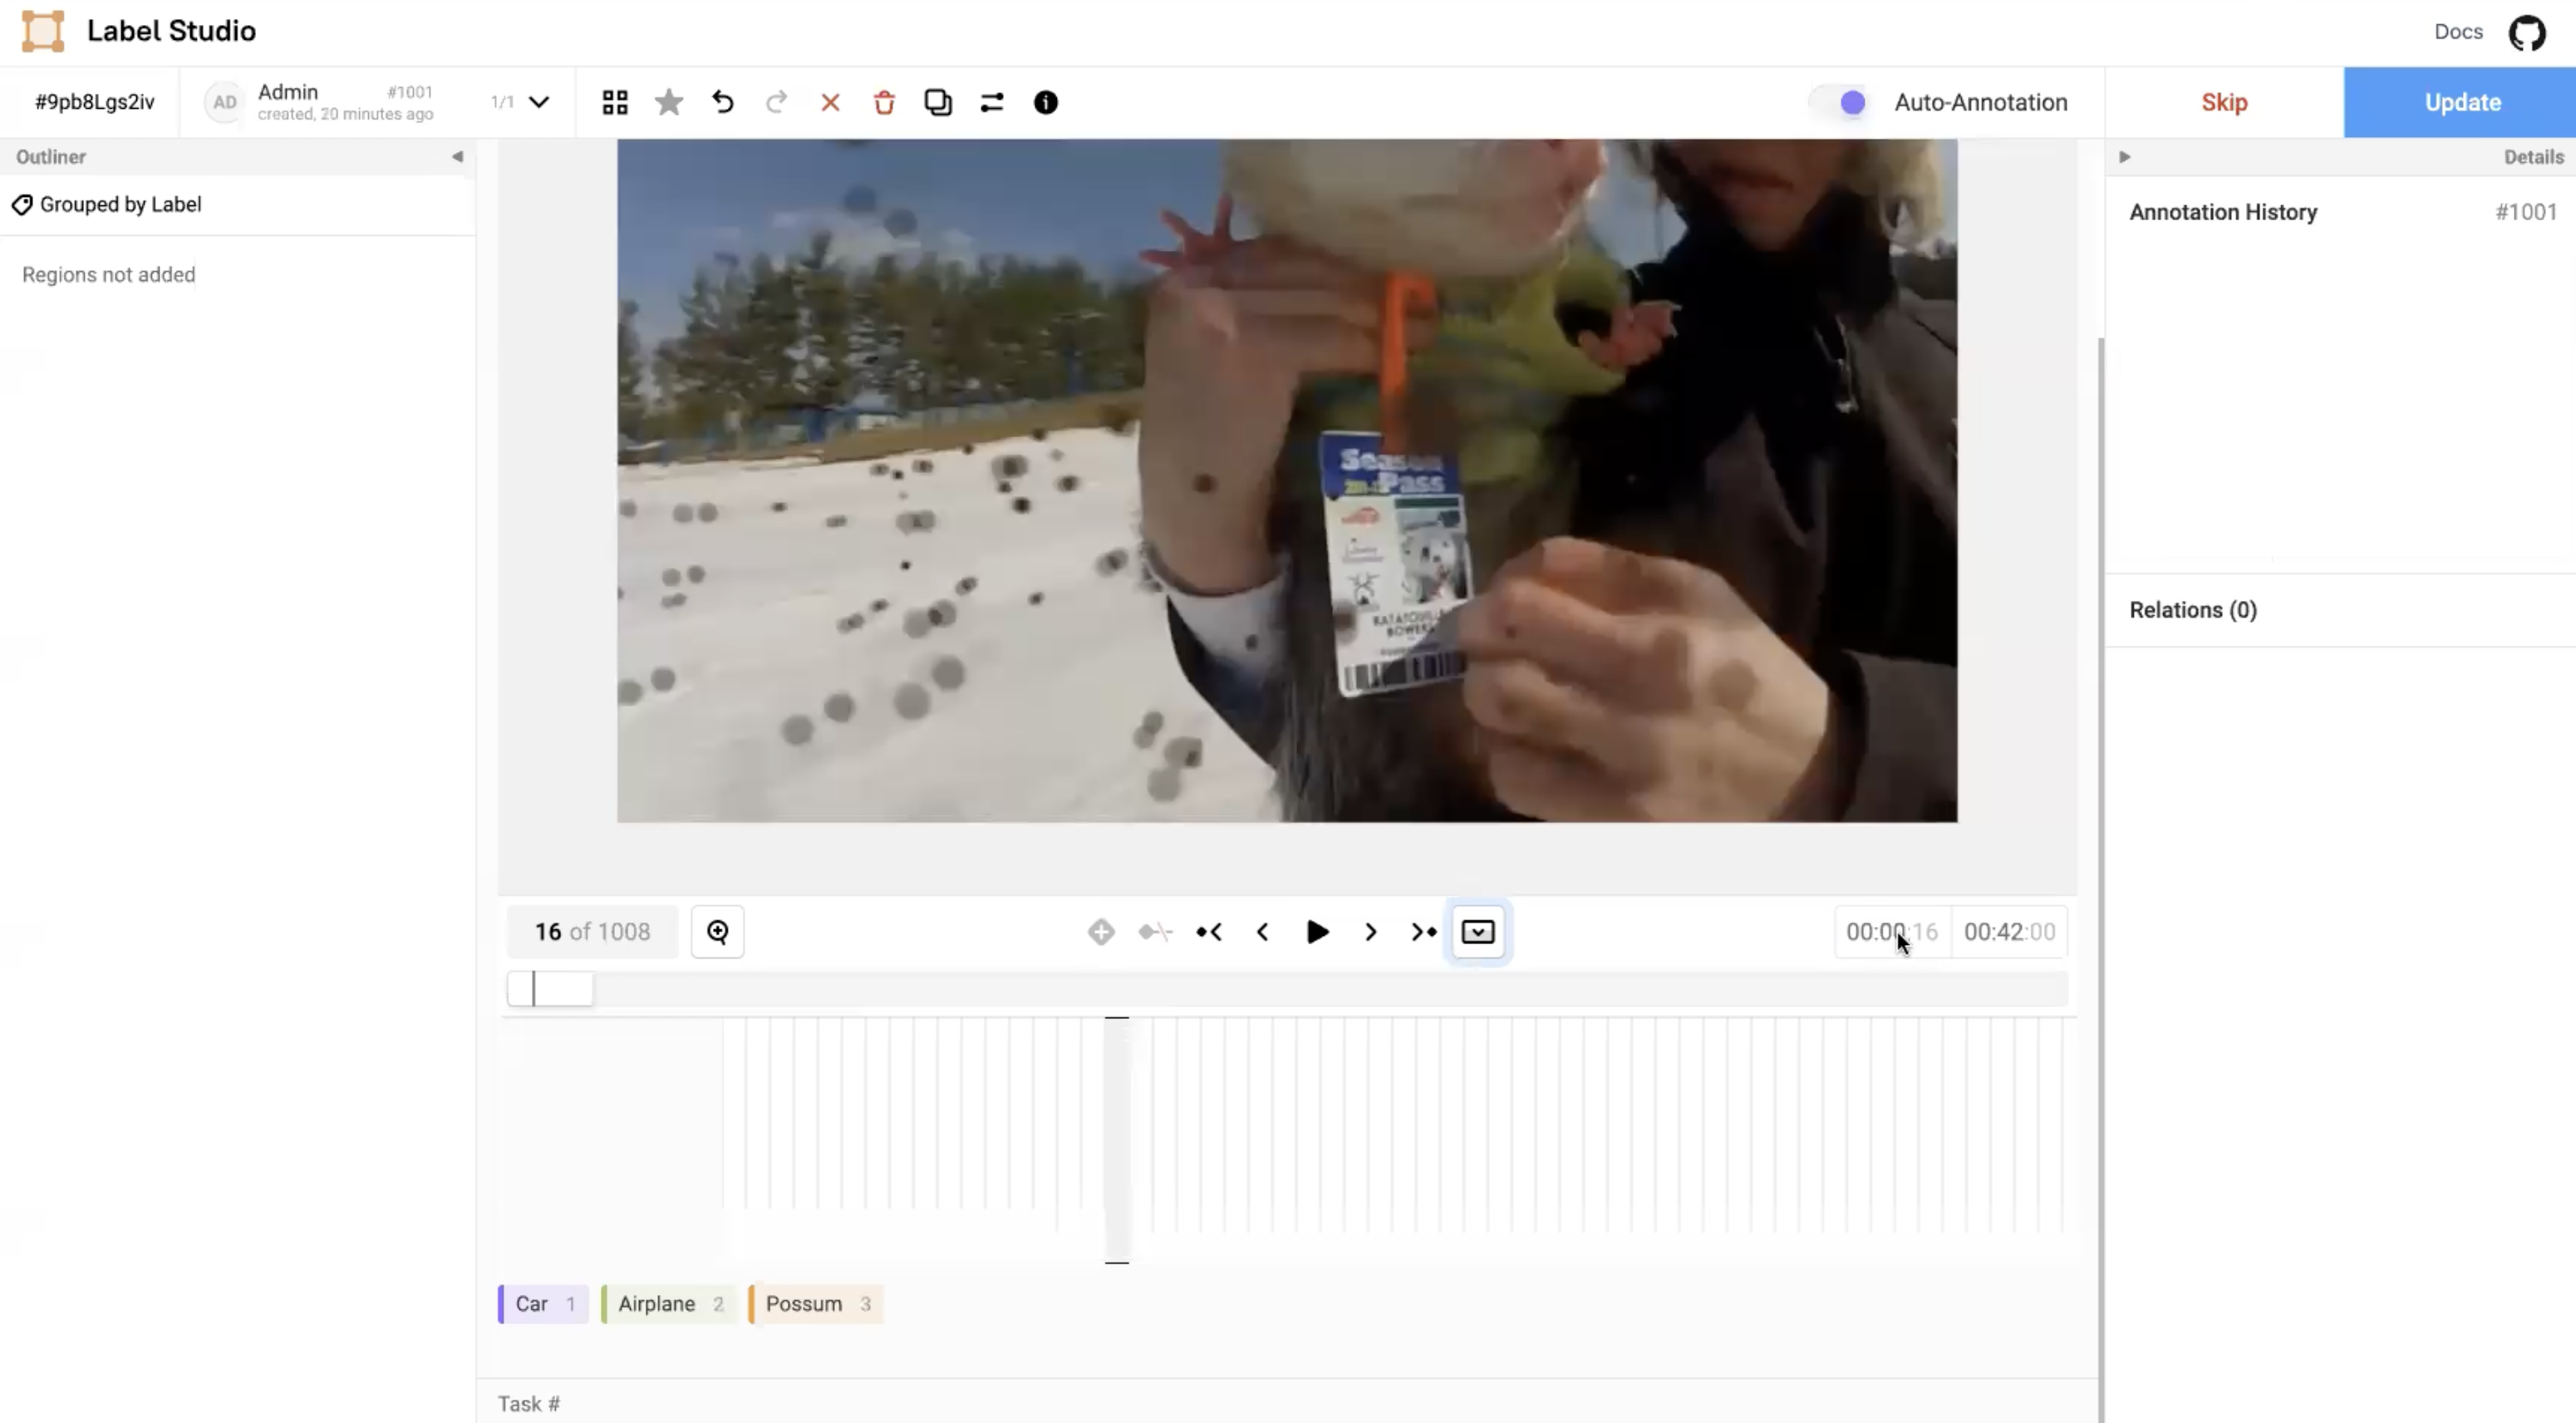
Figure 10: Navigate using time frames.
You can also adjust the rectangle frame to detect the object region of interest.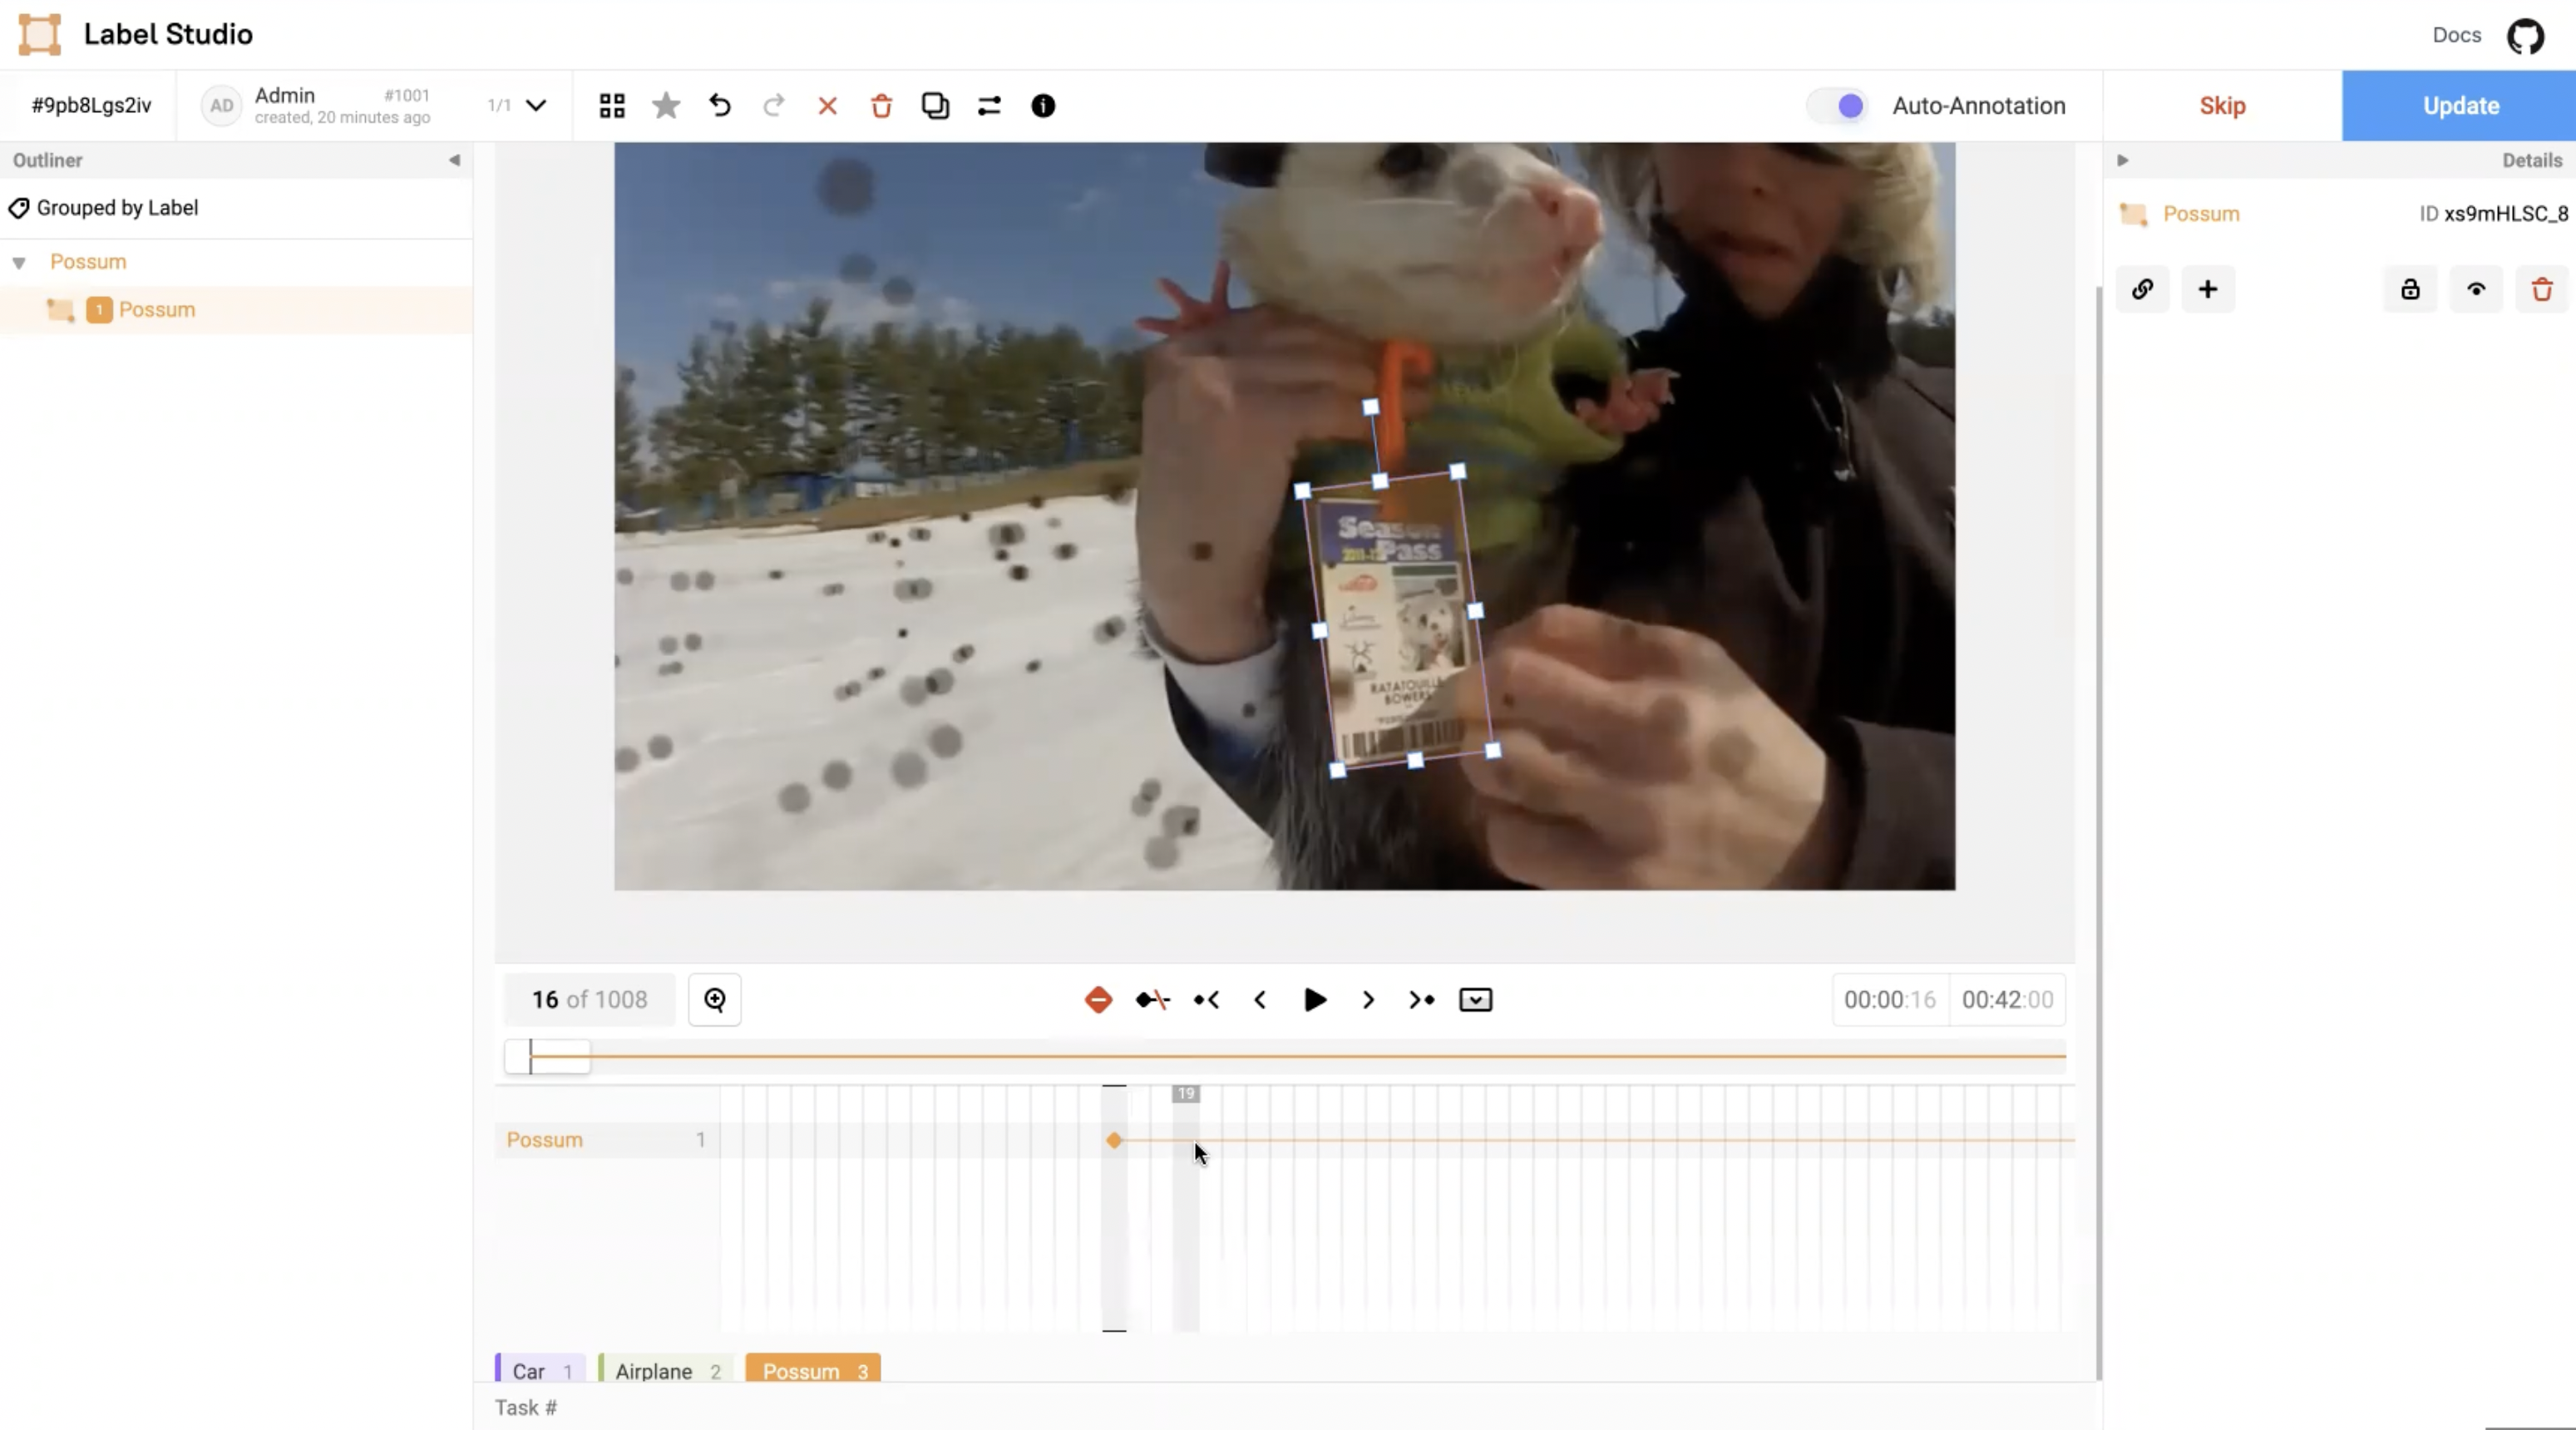
Figure 11: Adjust rectangle frame for object detection.
To detect the object on a badge, select the label and draw a rectangle on it.![]()
Figure 12: Object detection badge.
Use timestamps
When you work with timestamps or timelines, you can add a keyframe on the bounding box and start at a particular frame number. A thin line (goes to the end of the video while scrolling) represents the transition or lifespan of the bounding box. You can track a badge using one frame after another.
 Figure 13: Navigate to a particular frame number.
The grey rectangle and orange color diamond shape shows the selected keyframe.
Figure 14: Timeline for keyframes.
Navigate with hotkeys
Enable the hot-key driven navigation to enhance the granularity in tracking objects.
 Figure15: Enable hotkey-driven navigation.
Fine-grained control actions
Label and track objects across subsequent frames using the fine-grained control actions.
Shape transition
Shape transition occurs when you adjust the bounding box and the new keyframe appears in the timeline. For example, you can add a new keyframe and adjust the bounding box to fit the badge. Then navigate from one frame (say frame number 30) back to a previous frame (frame number 17). Now, you will see the bounding box shape changes across those frames. This action will help to easily transition the bounding box shape and adjust to the tracked object. You can add more key points or a key point to every frame to track the transition more precisely.
Figure 16: Adjust the rectangle frame.
Monitor the lifespan
When you are in a particular frame number and if the badge disappears then you don’t need to track it anymore.
Now navigate to that particular frame number and press the Toggle Interpolation button. It will cut the interpolation here and the badge disappears. It shows only those frames that were added previously.
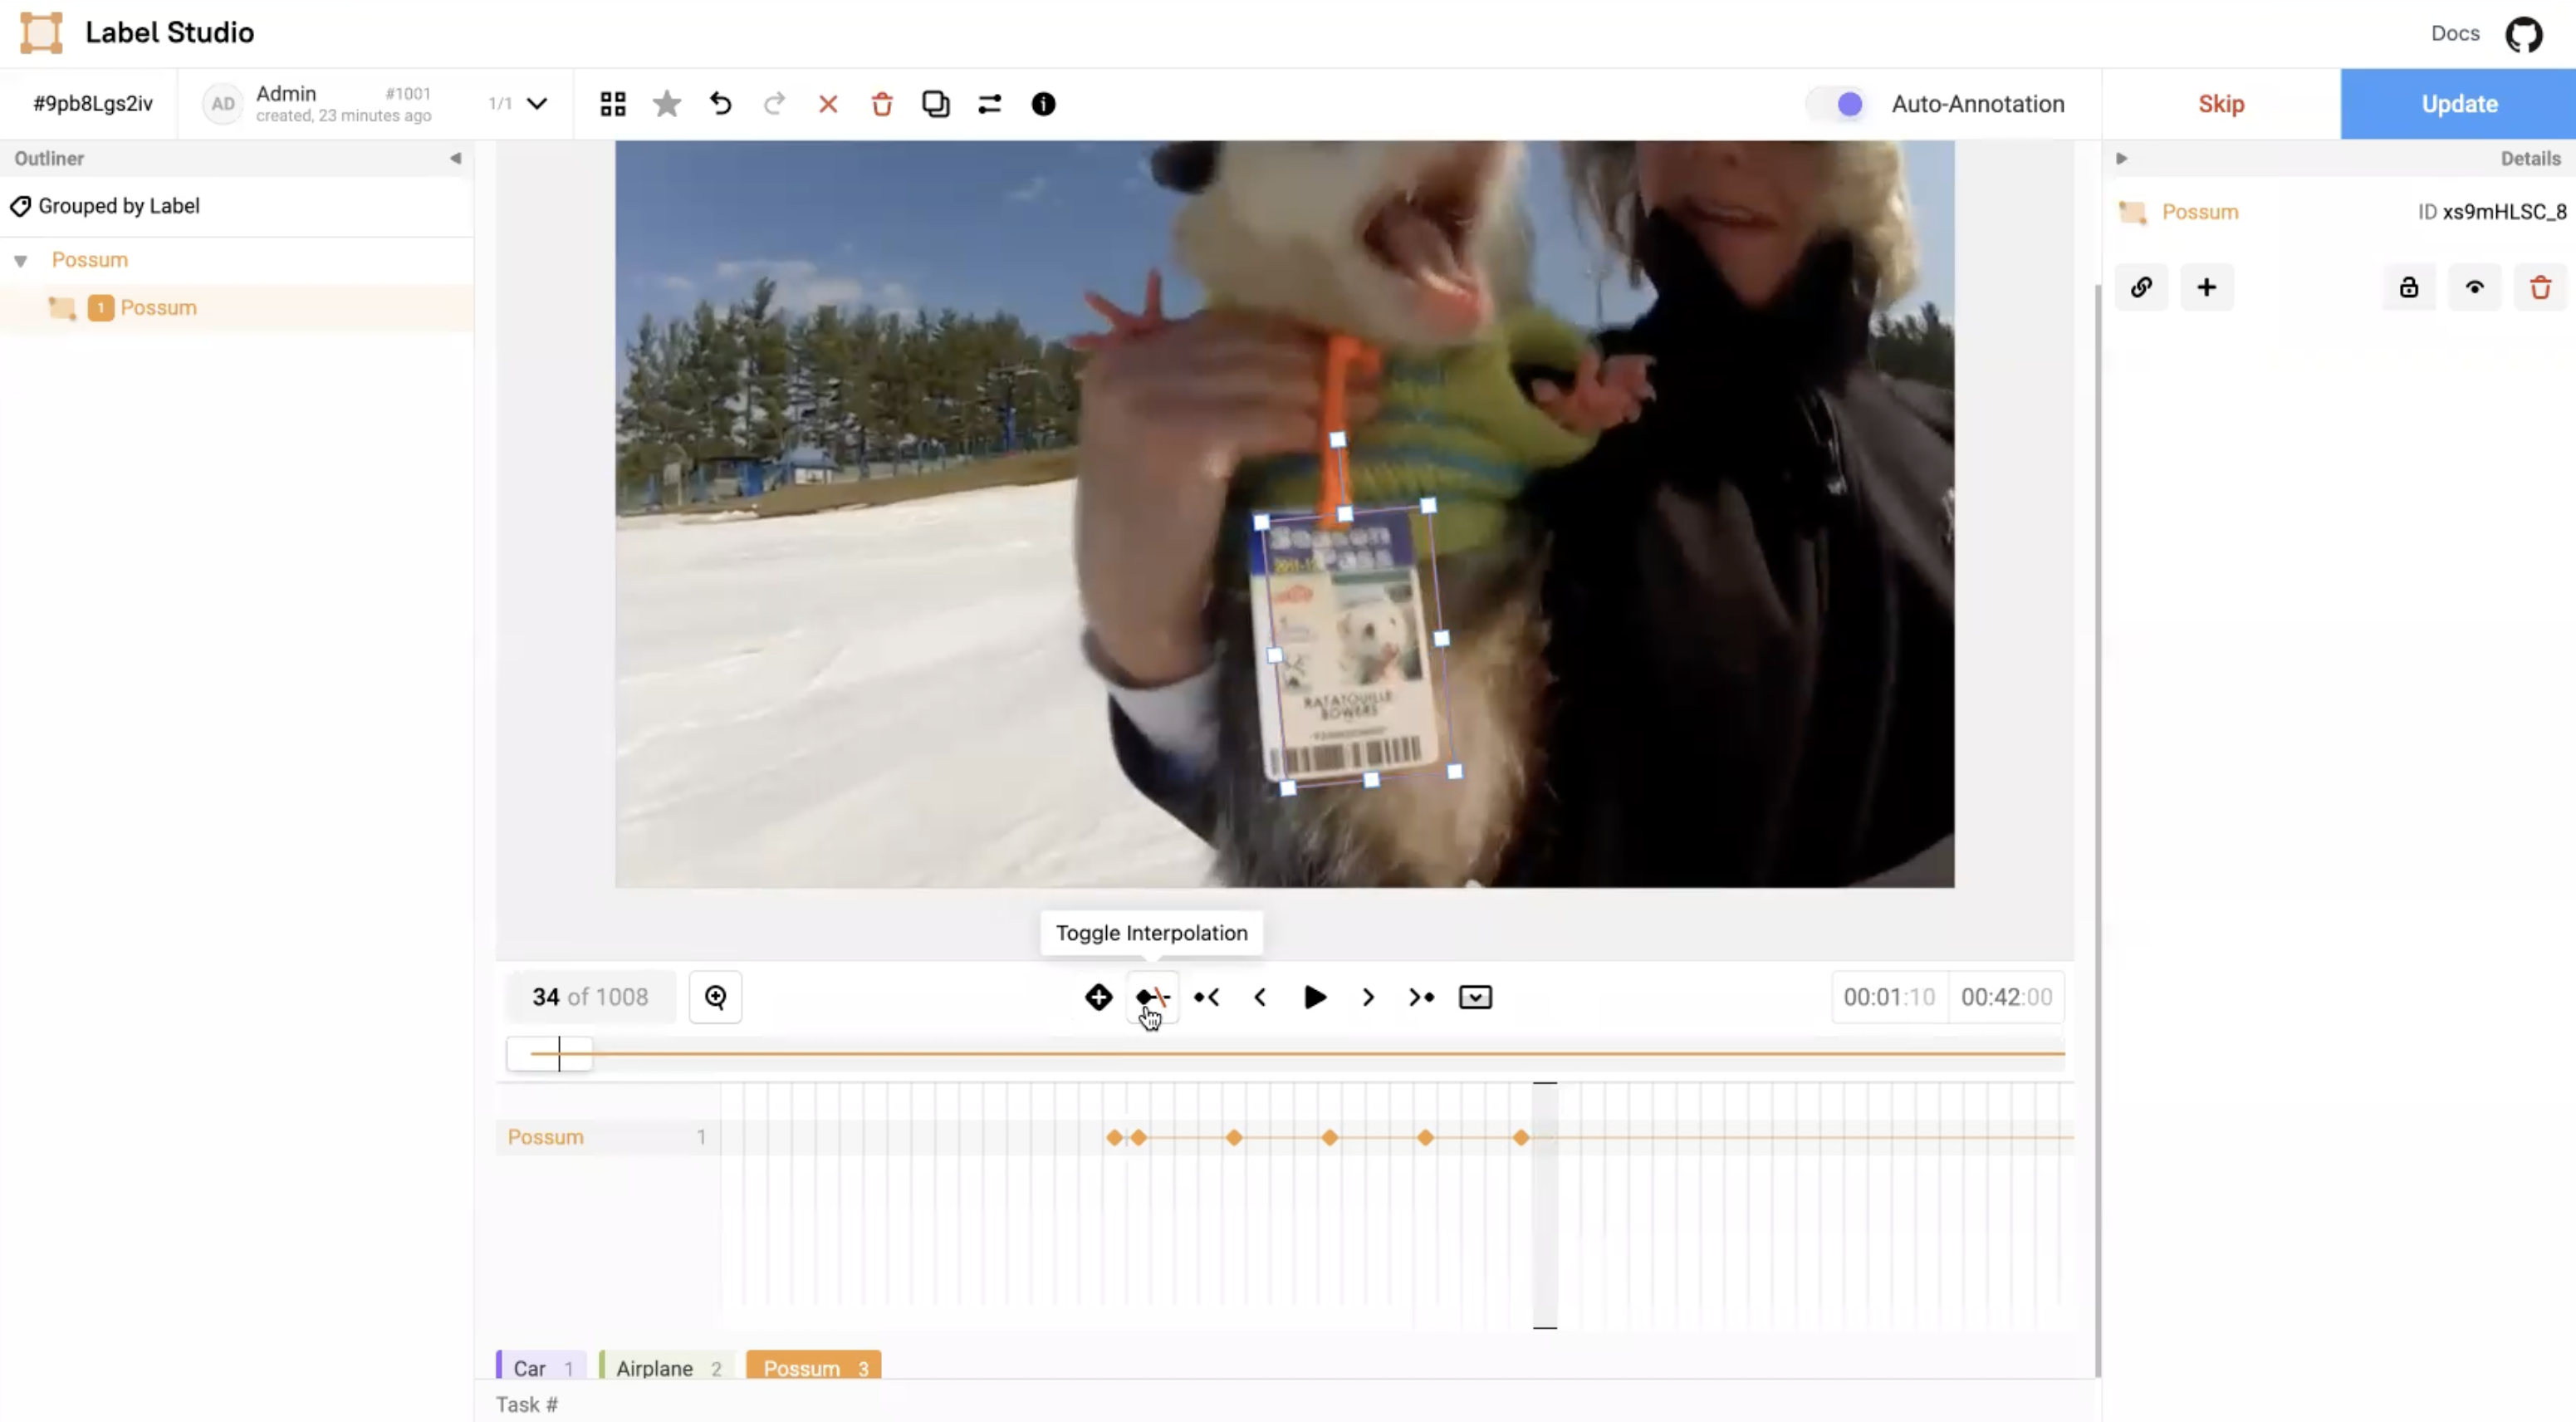 Figure 18: Activate toggle interpolation.
The disappeared badge in Figure 17 now reappears within the interpolation as you see in Figure 19.![]()
Figure 19: Badge appears within interpolation.
Transition frames
If you don’t want to play video by itself, but prefer to see the transition of the frames then you can drag the frame indicator to see how it transitions, how frames appear, how they disappear, and so on. You can also set positions for the video by dragging the overview window that shows the current visible viewport.
Reconfigure annotation workspaces
You can reconfigure the annotation workspaces to simplify labeling larger tasks, including large images and longer videos with many regions. This allows you to view more of the video portion, a wider space for the timeline, and the ability to see many keyframes and regions.
You can add key points by toggling the key points. For example, if you accidentally moved the bounding box, and it is not in the right place, then you must remove the key points to reset it to the initial position. You can add many bounding boxes for object detection.
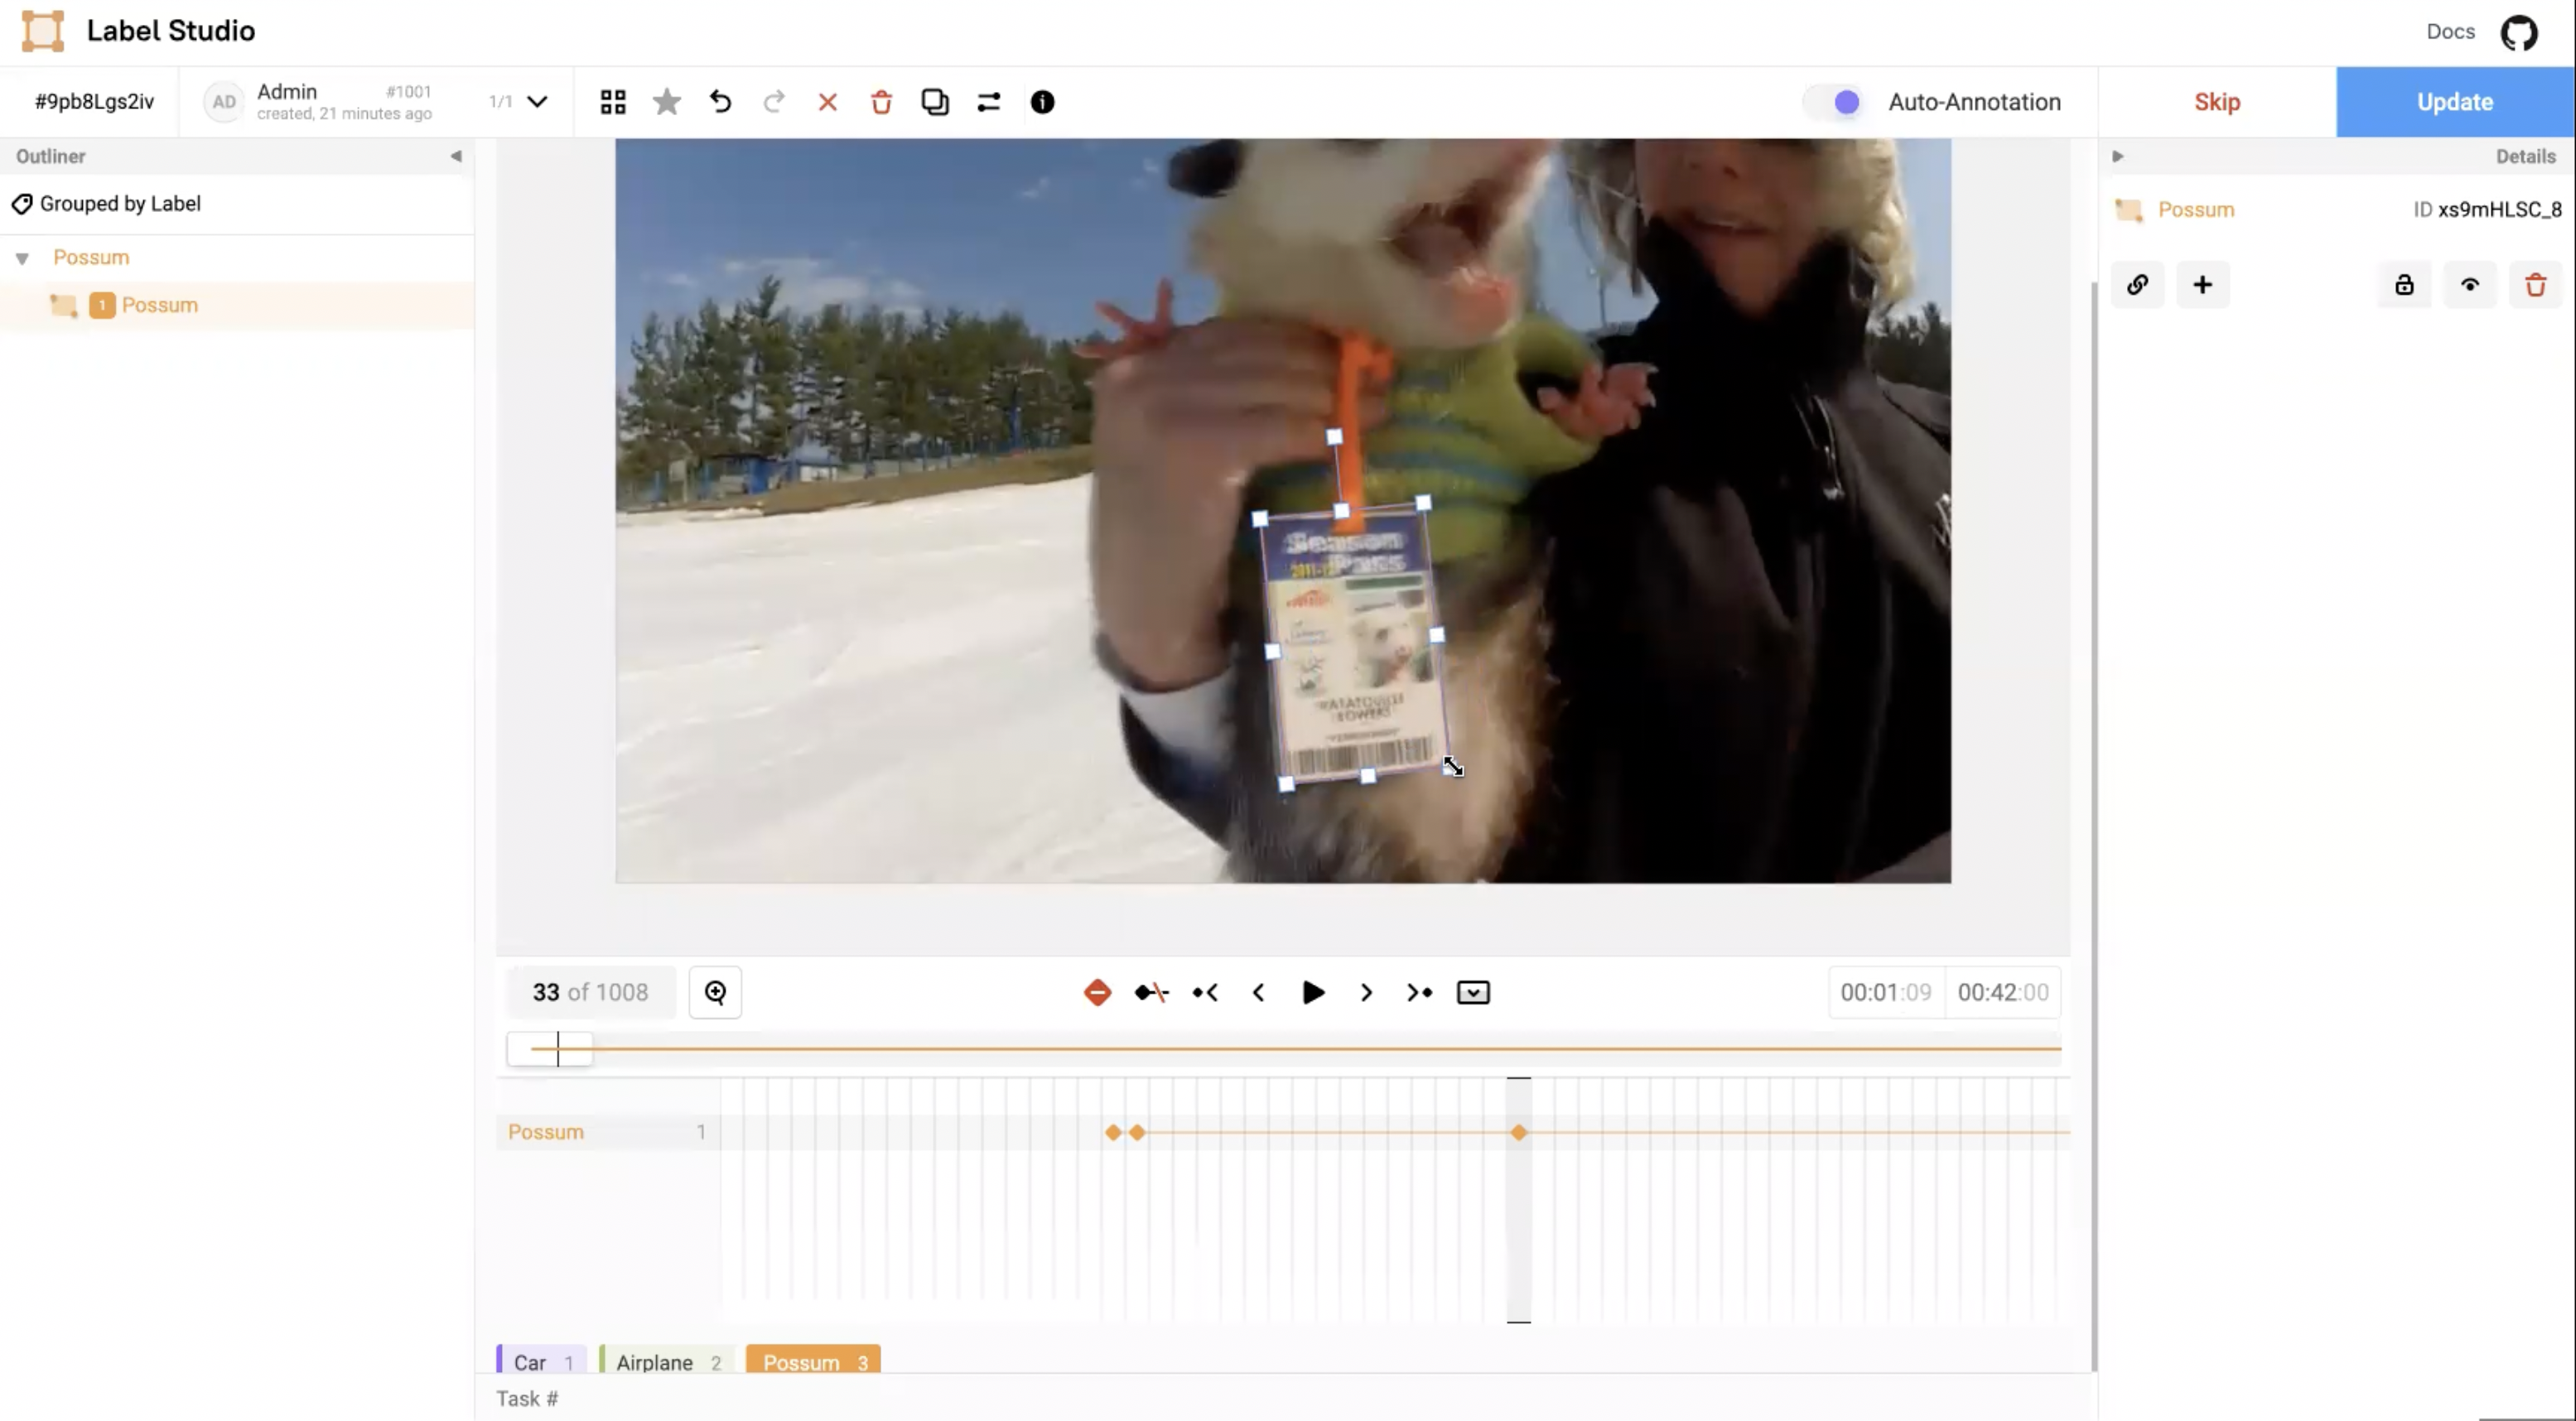 Figure 20: Add multiple key points.
Figure 21 shows the available bounding boxes (Car, Airplane, or Possum) that you can add for object detection and tracking.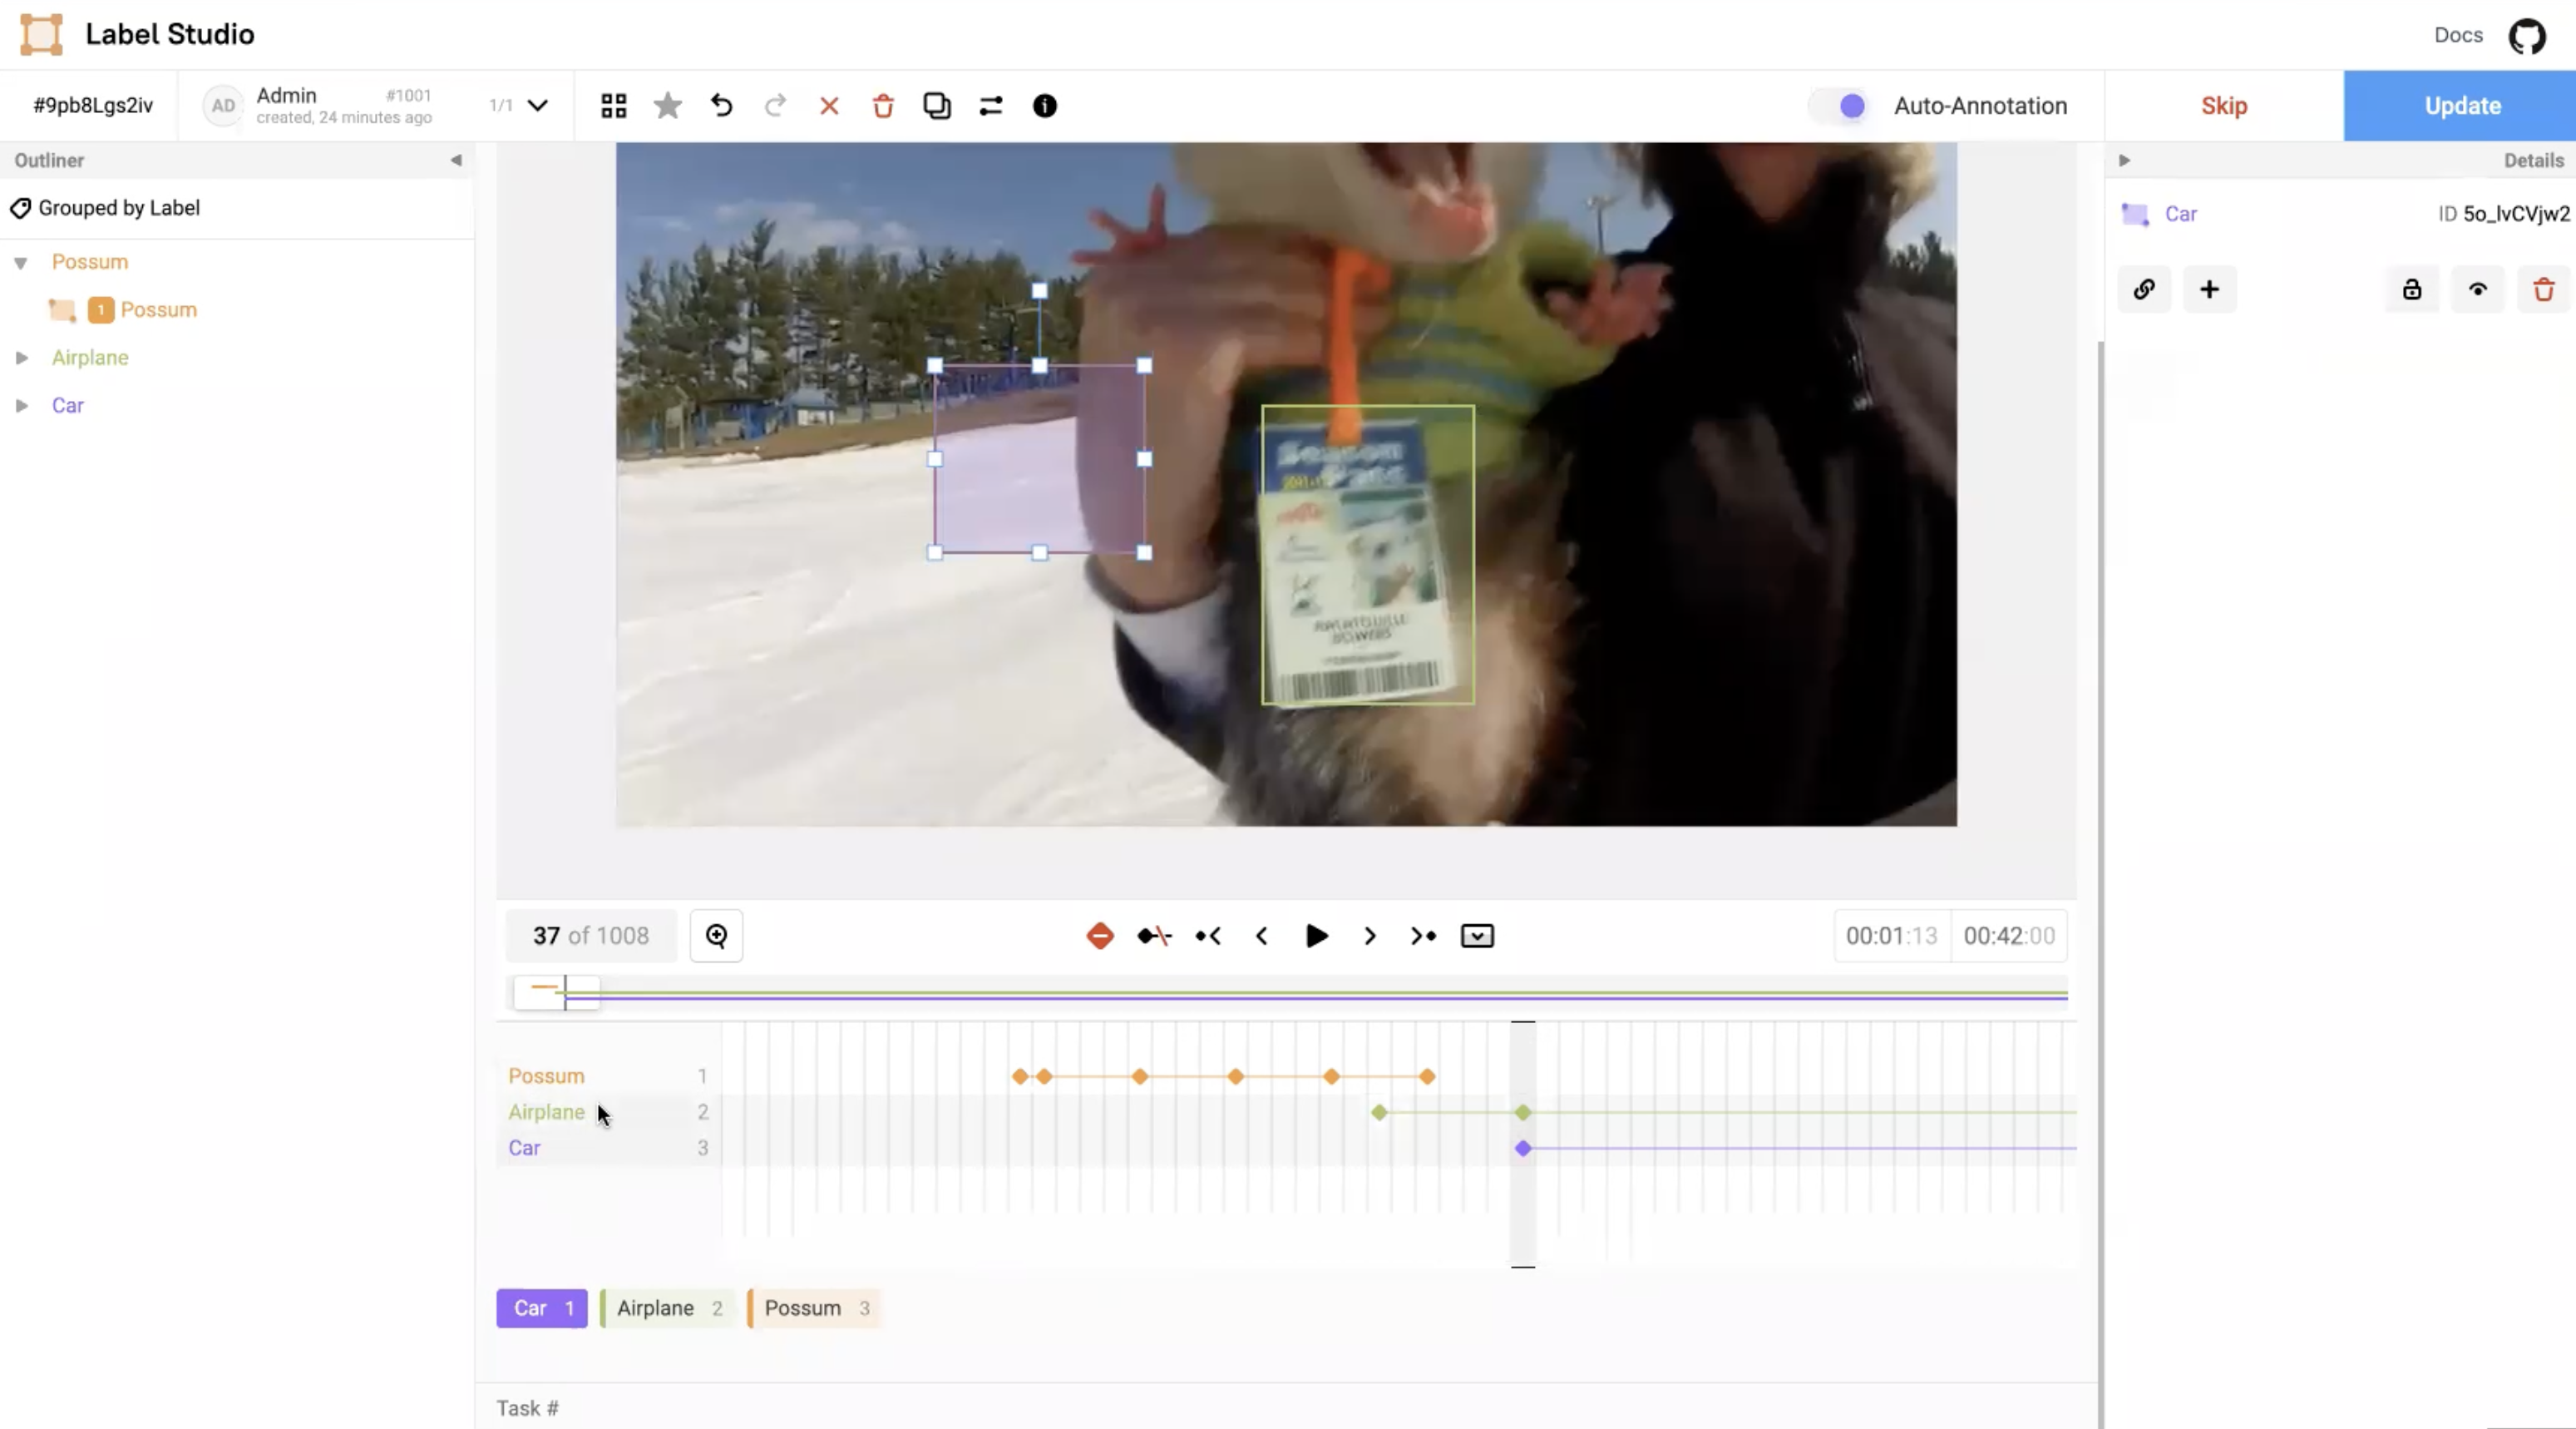
Figure 21: Add many bounding boxes.
A mini map shows separate lines for each added label region. In Figure 22, the mini map shows separate lines for each added Car, Airplane, or Possum label region.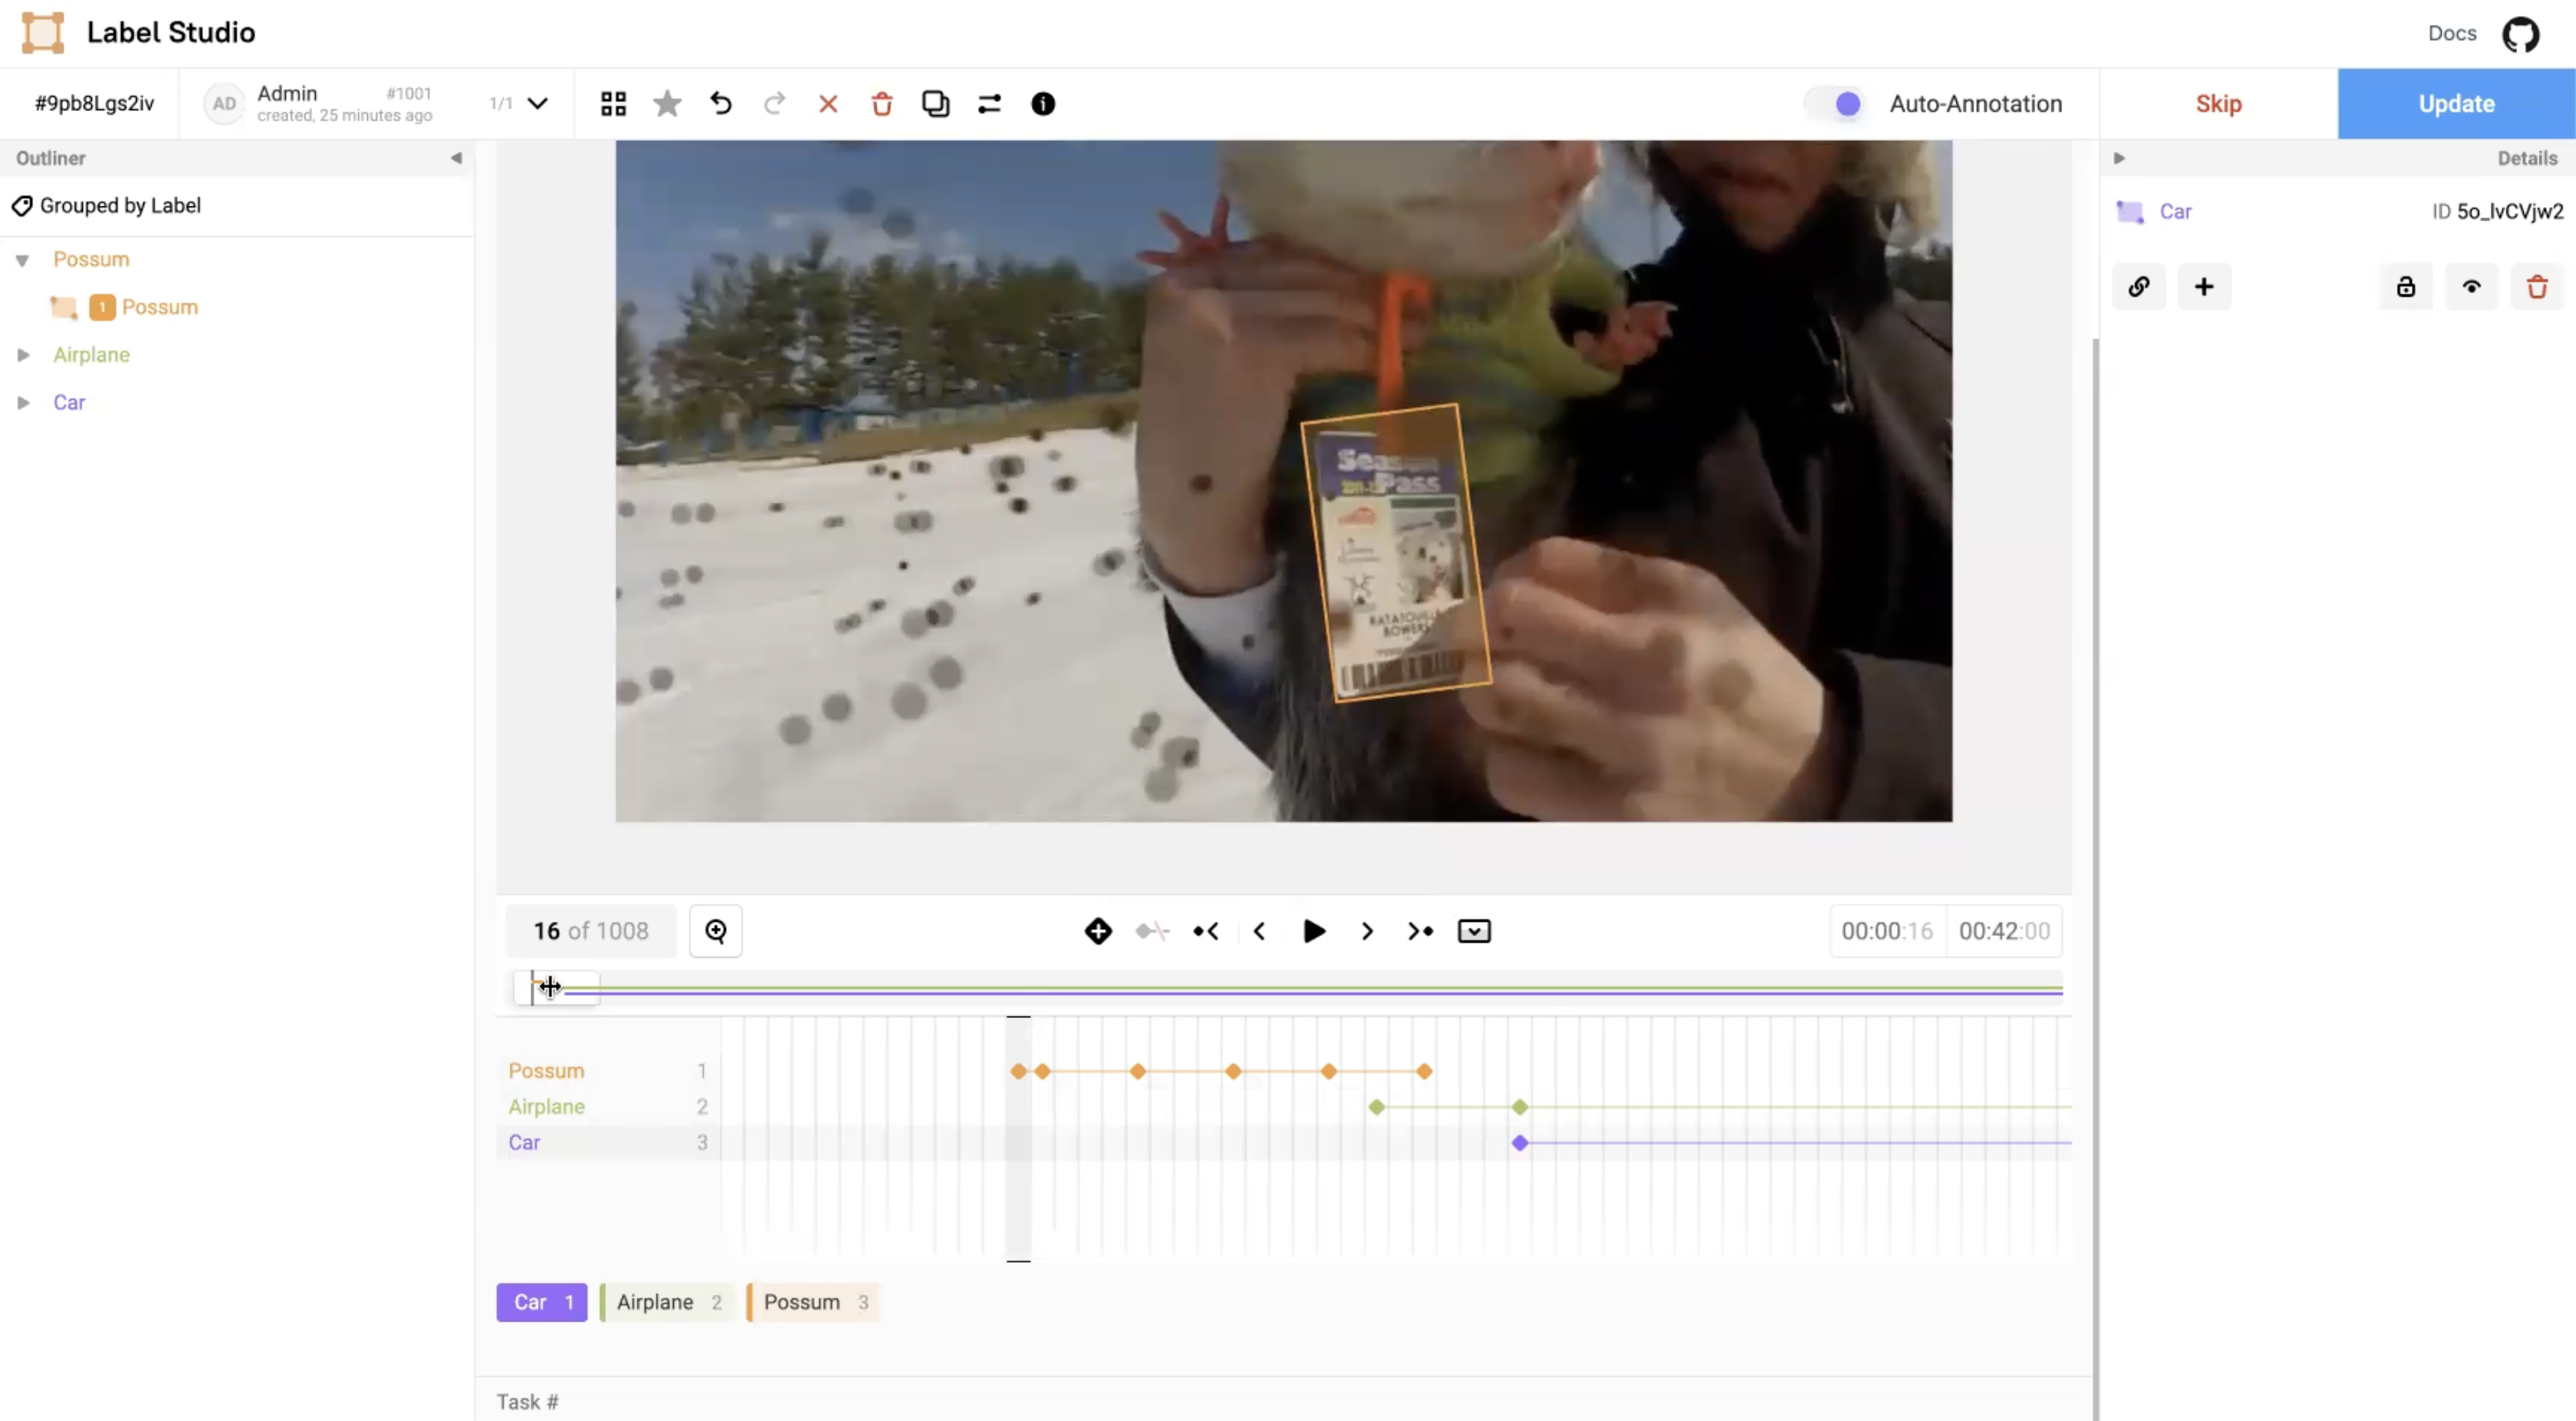
Figure 22: Mini map for multiple regions.
Additional examples
The following shows additional examples of the video object tracking feature.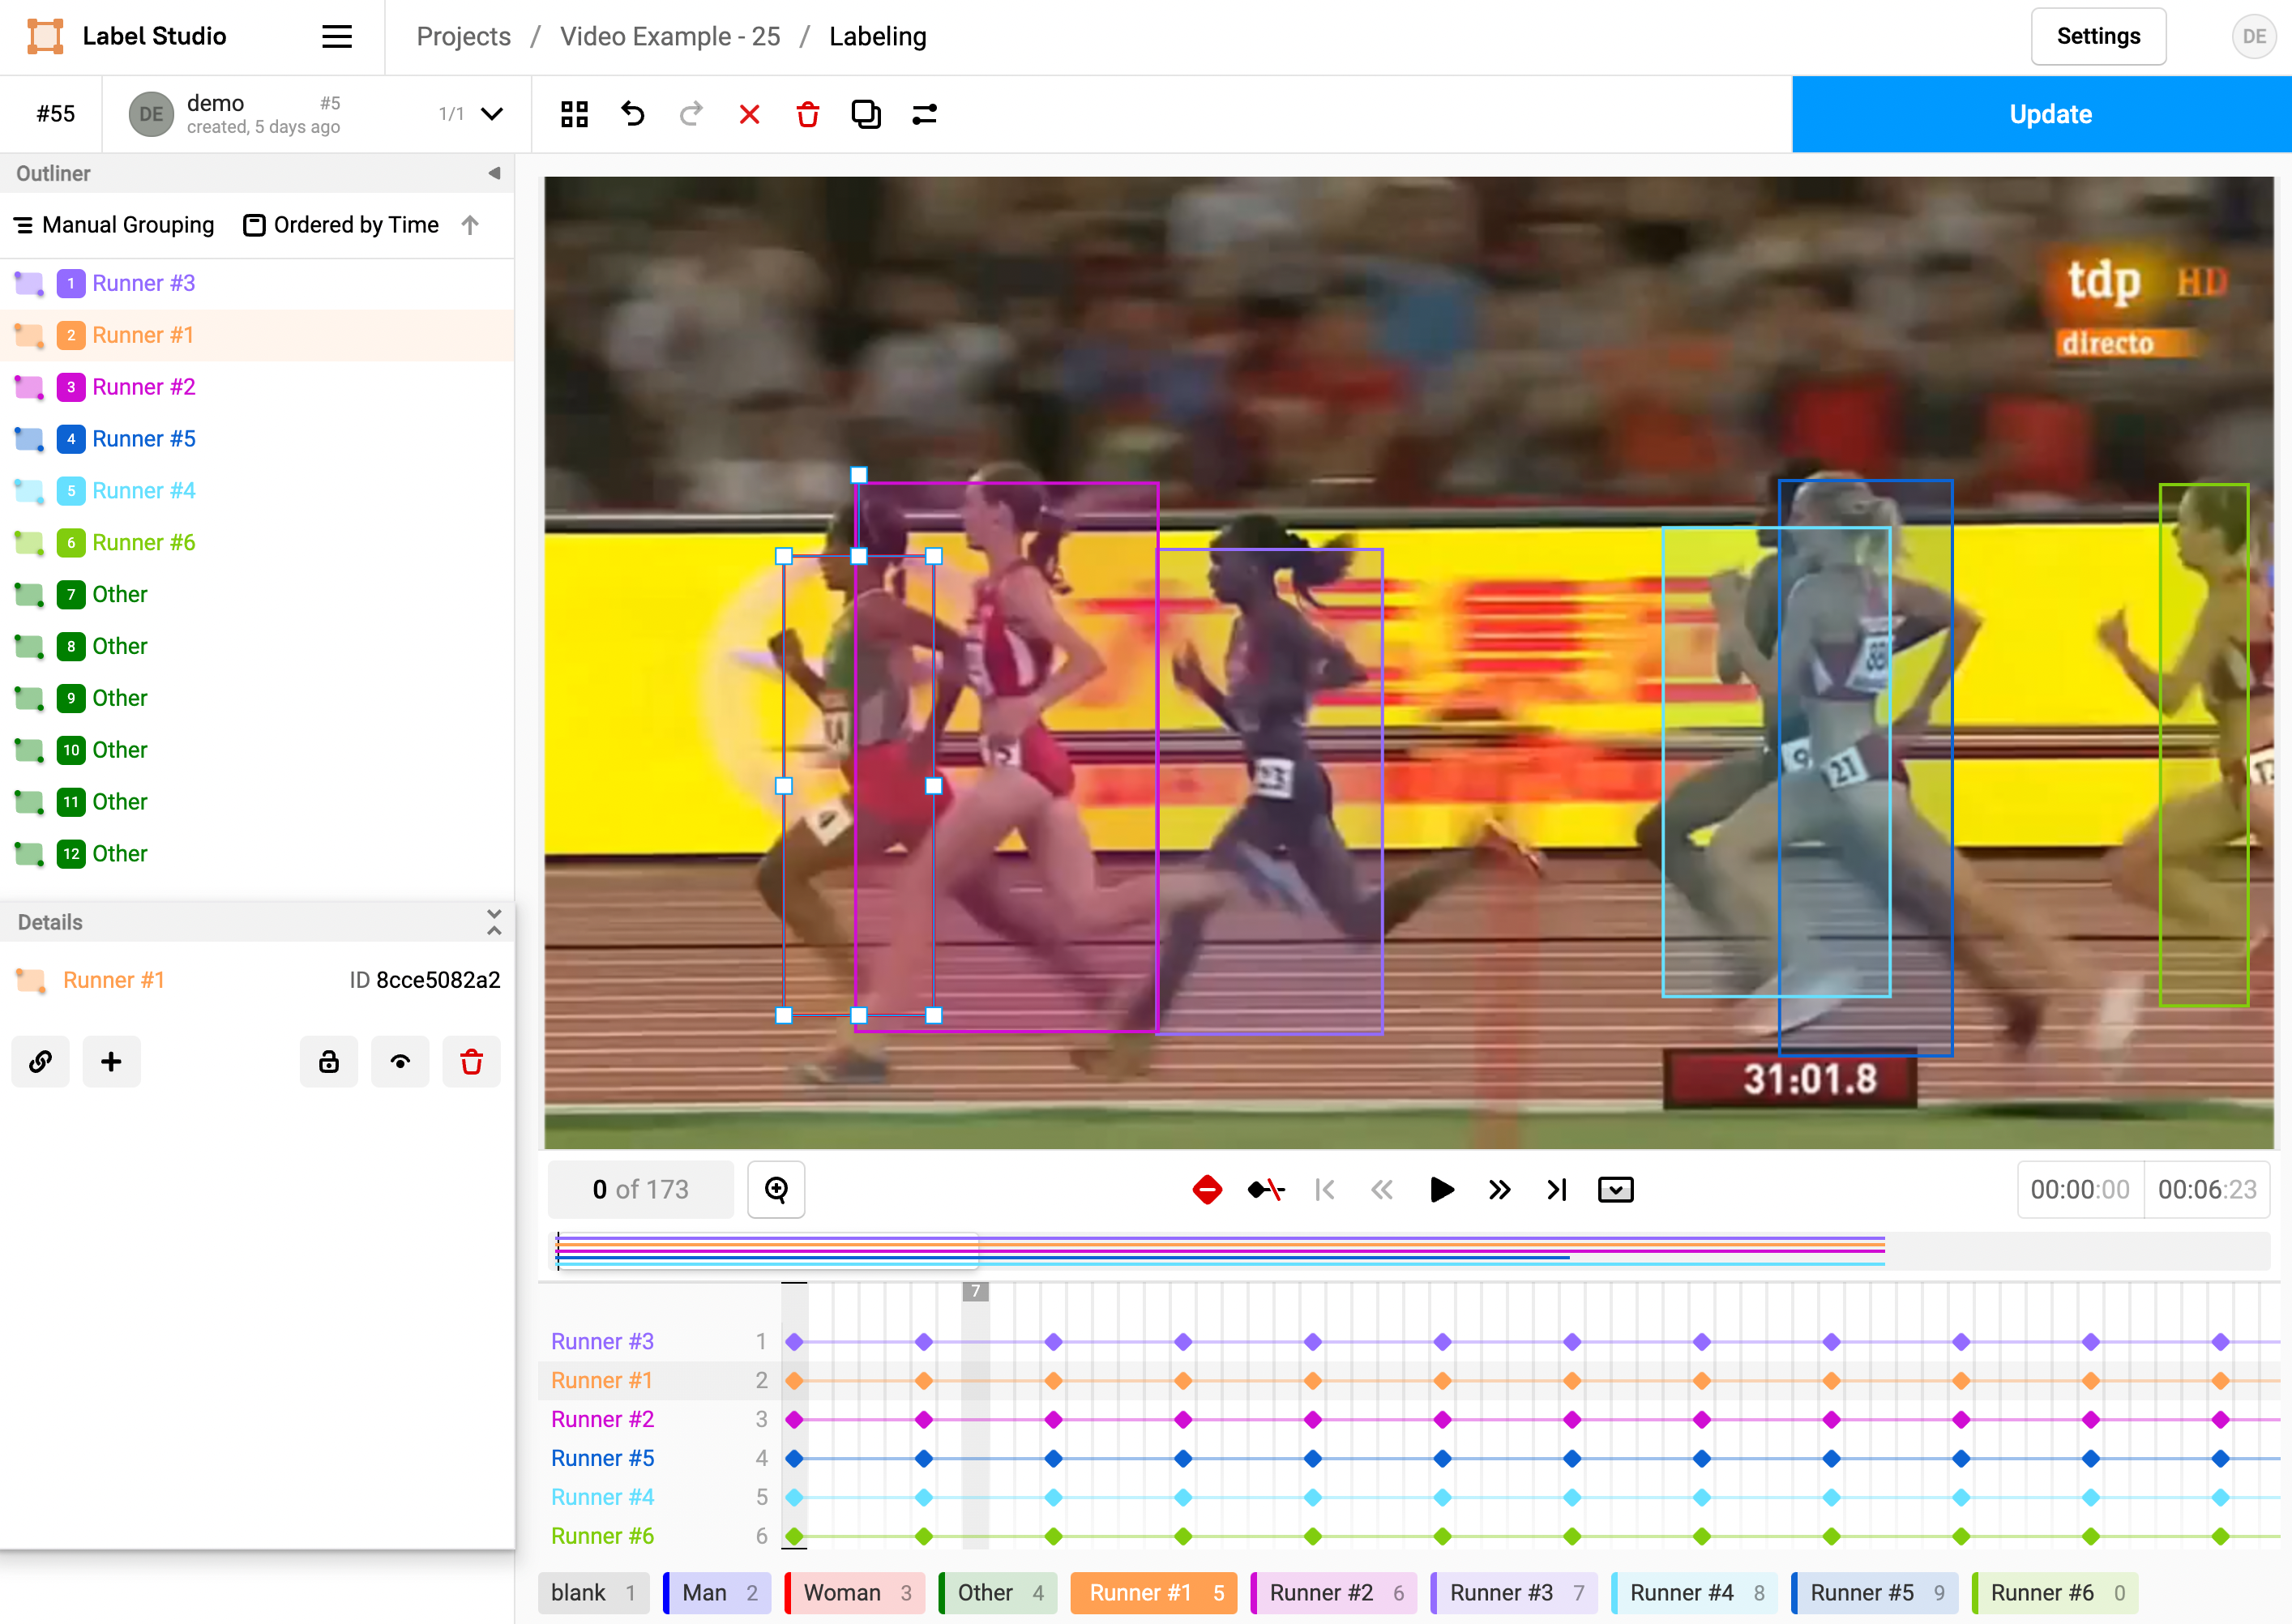
Figure 23: Example 1 of video object tracking.
Example of video object tracking feature with timestamp.
Figure 24: Example 2 of video object tracking with timestamp.
Move the Outliner window in video player.
Figure 25: Example 3 of moving the outliner window in video player.