Multi-Image Classification
For data labeling cases when you want to classify multiple images at once, or if you want to ask multiple questions about multiple images, you can use this template.
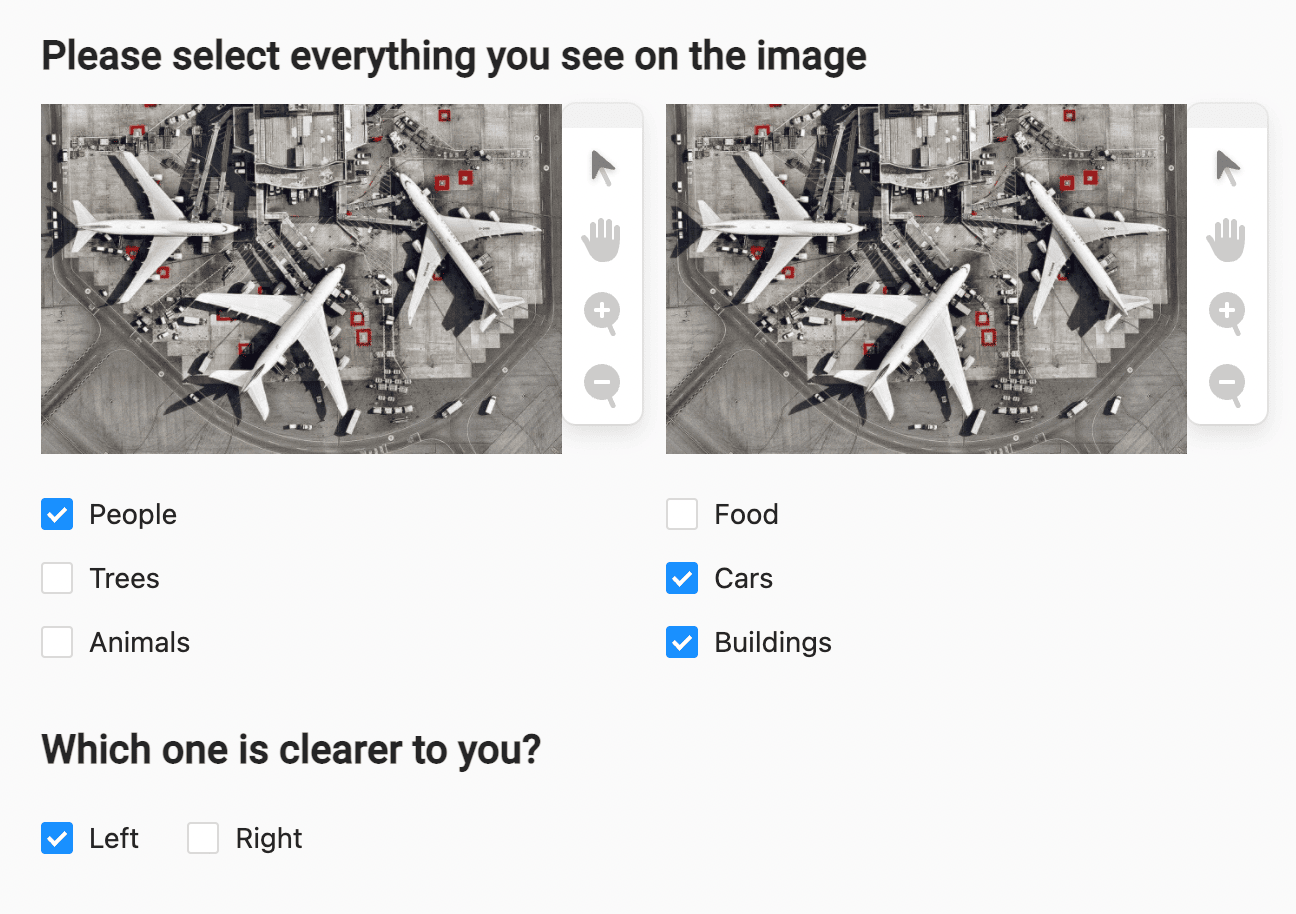
Interactive Template Preview
Labeling Configuration
<View>
  <Header value="Please select everything you see on the image" />

  <View style="display: flex;">
    <View style="width: 49%; margin-right: 1.99%">
      <Image name="img-left" value="$image1"/>
      <Choices name="class-left" toName="img-left" choice="multiple">
        <Choice value="People" />
        <Choice value="Trees" />
        <Choice value="Animals" />
      </Choices>
    </View>

    <View style="width: 49%;">
      <Image name="img-right" value="$image2"/>
      <Choices name="class-right" toName="img-right" choice="multiple">
        <Choice value="Food" />
        <Choice value="Cars" />
        <Choice value="Buildings" />
      </Choices>
    </View>
  </View>

  <View>
    <Header value="Which one is clearer to you?" />
    <Choices name="comparison" toName="img-left" showInline="true">
      <Choice value="Left" />
      <Choice value="Right" />
    </Choices>
  </View>
</View>
About the labeling configuration
All labeling configurations must be wrapped in View tags.
You can add a header to provide instructions to the annotator:
<Header value="Please select everything you see on the image" />Styling with the View tag sets up the display to allow both images to show side by side:
<View style="display: flex;">Then each image is wrapped in its own View tag to control the display:
<View style="width: 49%; margin-right: 1.99%">Within that first View tag, the Image object tag specifies the image to display on the left:
<Image name="img-left" value="$image1"/>The value parameter specifies a JSON key of "image1" in the Label Studio JSON task that must be imported with URLs to both images.
The Choices control tag displays classification options that apply to the image on the left, specified with the toName parameter. The choice parameter indicates that annotators can select multiple choices:
<Choices name="class-left" toName="img-left" choice="multiple">
    <Choice value="People" />
    <Choice value="Trees" />
    <Choice value="Animals" />
</Choices>
The View tag to display the image and relevant choices on the left is closed, then a new View tag styles the second image and choice selection to appear on the right:
<View style="width: 49%;">Within this View tag, the Image object tag specifies the image to display on the right:
<Image name="img-right" value="$image2"/>The value parameter specifies a JSON key of "image2" in the Label Studio JSON task that must be imported with URLs to both images.
The Choices control tag displays classification options that apply to the image on the right, specified with the toName parameter:
<Choices name="class-right" toName="img-right" choice="multiple">
    <Choice value="Food" />
    <Choice value="Cars" />
    <Choice value="Buildings" />
</Choices>
Close both View tags for the image and choice styling, and use a new View tag to separate the remaining overall classification options. You can add a header to provide instructions to the annotator, and use the Choices control tag to display choices about both images.
<View>
    <Header value="Which one is clearer to you?" />
    <Choices name="comparison" toName="img-left" showInline="true">
      <Choice value="Left" />
      <Choice value="Right" />
    </Choices>
</View>
The Choices tag toName value references img-left so that all annotations are tied together in the results.