Image Captioning
If you want to train a machine learning model to caption or add alt text to images, use this template to collect captions about images.
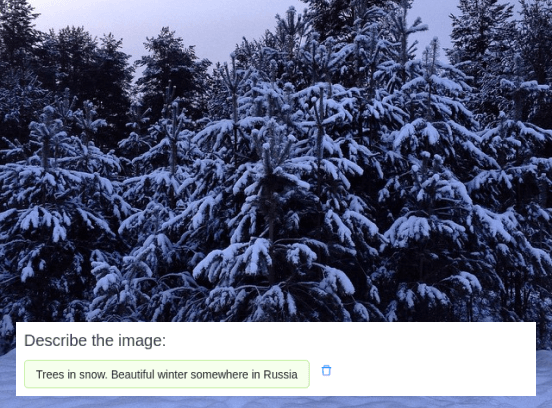
Interactive Template Preview
Labeling Configuration
<View>
  <Image name="image" value="$captioning"/>
  <Header value="Describe the image:"/>
  <TextArea name="caption" toName="image" placeholder="Enter description here..." rows="5" maxSubmissions="1"/>
</View>
About the labeling configuration
All labeling configurations must be wrapped in View tags.
Use the Image object tag to specify the image to caption:
<Image name="image" value="$captioning"/>You can add a header to provide instructions to the annotator:
<Header value="Describe the image:"/>Use the TextArea control tag to provide a 5 row text box that annotators can type a caption into:
<TextArea name="caption" toName="image" placeholder="Enter description here..." rows="5" maxSubmissions="1"/>Use the placeholder argument to provide placeholder text to the annotator, which can provide an example or further instructions.
Enhance this template
You can enhance this template in many ways.
Add a sticky header so that you can always view the caption
If you want to always view the annotation options on the labeling interface, even if you need to scroll around on the image or data being labeled, you can use styling with the View tag to specify the position.
In this case, wrap the caption element in styled View tags:
<View style="padding: 0 1em; margin: 1em 0; background: #f1f1f1; position: sticky; top: 0; border-radius: 3px">
 <TextArea name="caption" toName="image" placeholder="Enter description here..." rows="5" maxSubmissions="1"/>
</View>
The position: sticky; top: 0; CSS sets the TextArea to be fixed at the top of the screen after the annotator scrolls down when viewing the task. The other styling options visually differentiate the section of the interface containing the text box from the rest of the interface.