Introduction
You can use XML-like tags in Label Studio to configure the labeling interface. Label Studio uses three different types of tags to manage labeling:
- Object tags for data types, used to display elements in a task that can be labeled such as audio, HTML, images, paragraphs, text, and more.
- Control tags that you can use to annotate the objects. For example, use labels for semantic and named entity tasks, choices for classification tasks, textarea for transcription tasks, and more.
- Visual tags to modify the visual aspects of the labeling interface, such as by controlling the view of specific labeling options, or adding a header.
Create a custom labeling configuration
When you set up your labeling interface, you can choose to use tags to create a custom labeling interface. When you create a custom labeling interface, you must pay attention to the structure of your task data and set up the configuration accordingly.
Connecting elements
All control and object tags require a name parameter. Every control tag also requires a toName parameter that matches the name parameter of the object tag in the configuration.
For example, if you want to apply labels to text for a named entity recognition task, you might use the following labeling configuration:
<View>
  <Labels name="lbl" toName="txt">
    <Label value="Label 1"></Label>
    <Label value="Label 2"></Label>
  </Labels>
  <Text name="txt" value="$value"></Text>
</View>
In this example, the Label tags are used with the Text tag to label text. You can combine multiple control and object tags in the same configuration and use names to connect them.
Variables
All object tags and some control and visual tags support variables inside their parameters. You can use a variable to set up a labeling configuration once and manage what displays on the labeling interface with the data in a specific task.
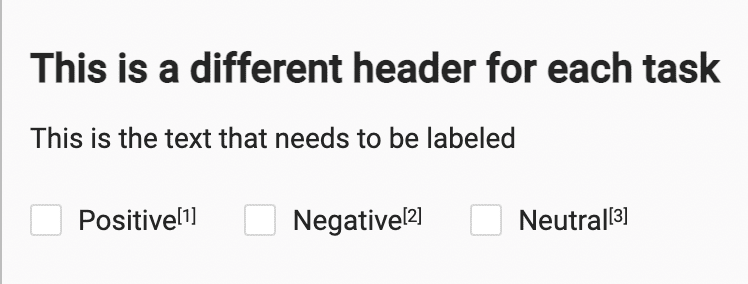
To use a variable, use it with the value parameter of a tag and specify it using the $ sign and the name of the field that you want to reference. For example, for a sample task containing the following partial JSON:
{
  "header": "This is a different header for each task",
  "textlabel": "This is the text that needs to be labeled"
}
Use the following labeling configuration to reference the data fields:
<View>
  <Header value="$header"></Header>
  <Text name="text" value="$textlabel"></Text>
  <Choices name="sentiment" toName="text" choice="single" showInLine="true">
   <Choice value="Positive"/>
   <Choice value="Negative"/>
   <Choice value="Neutral"/>
  </Choices>
</View>
Then your labeling interface looks like the following:
Styles
You can style the labeling interface using the Style tag, but you can also add styles to the View tag.
For example, you can style the View tag to create a two-column labeling interface with multiple control and object tags such as in the following labeling configuration:
<View style="display: flex;">
  <View style="flex: 50%">
    <Header value="Choose:"></Header>
    <Text name="txt-1" value="$value"></Text>
    <Choices name="chc" toName="txt-1">
      <Choice value="Choice 1"></Choice>
      <Choice value="Choice 2"></Choice>
    </Choices>
  </View>
  <View style="flex: 50%; margin-left: 1em">
    <Header value="Enter your question and rate text:"></Header>
    <Text name="txt-2" value="$value"></Text>
    <Rating name="rating" toName="txt-2"></Rating>
    <TextArea name="question"></TextArea>
  </View>
</View>