Manage projects in Label Studio Enterprise
For more project actions, see:
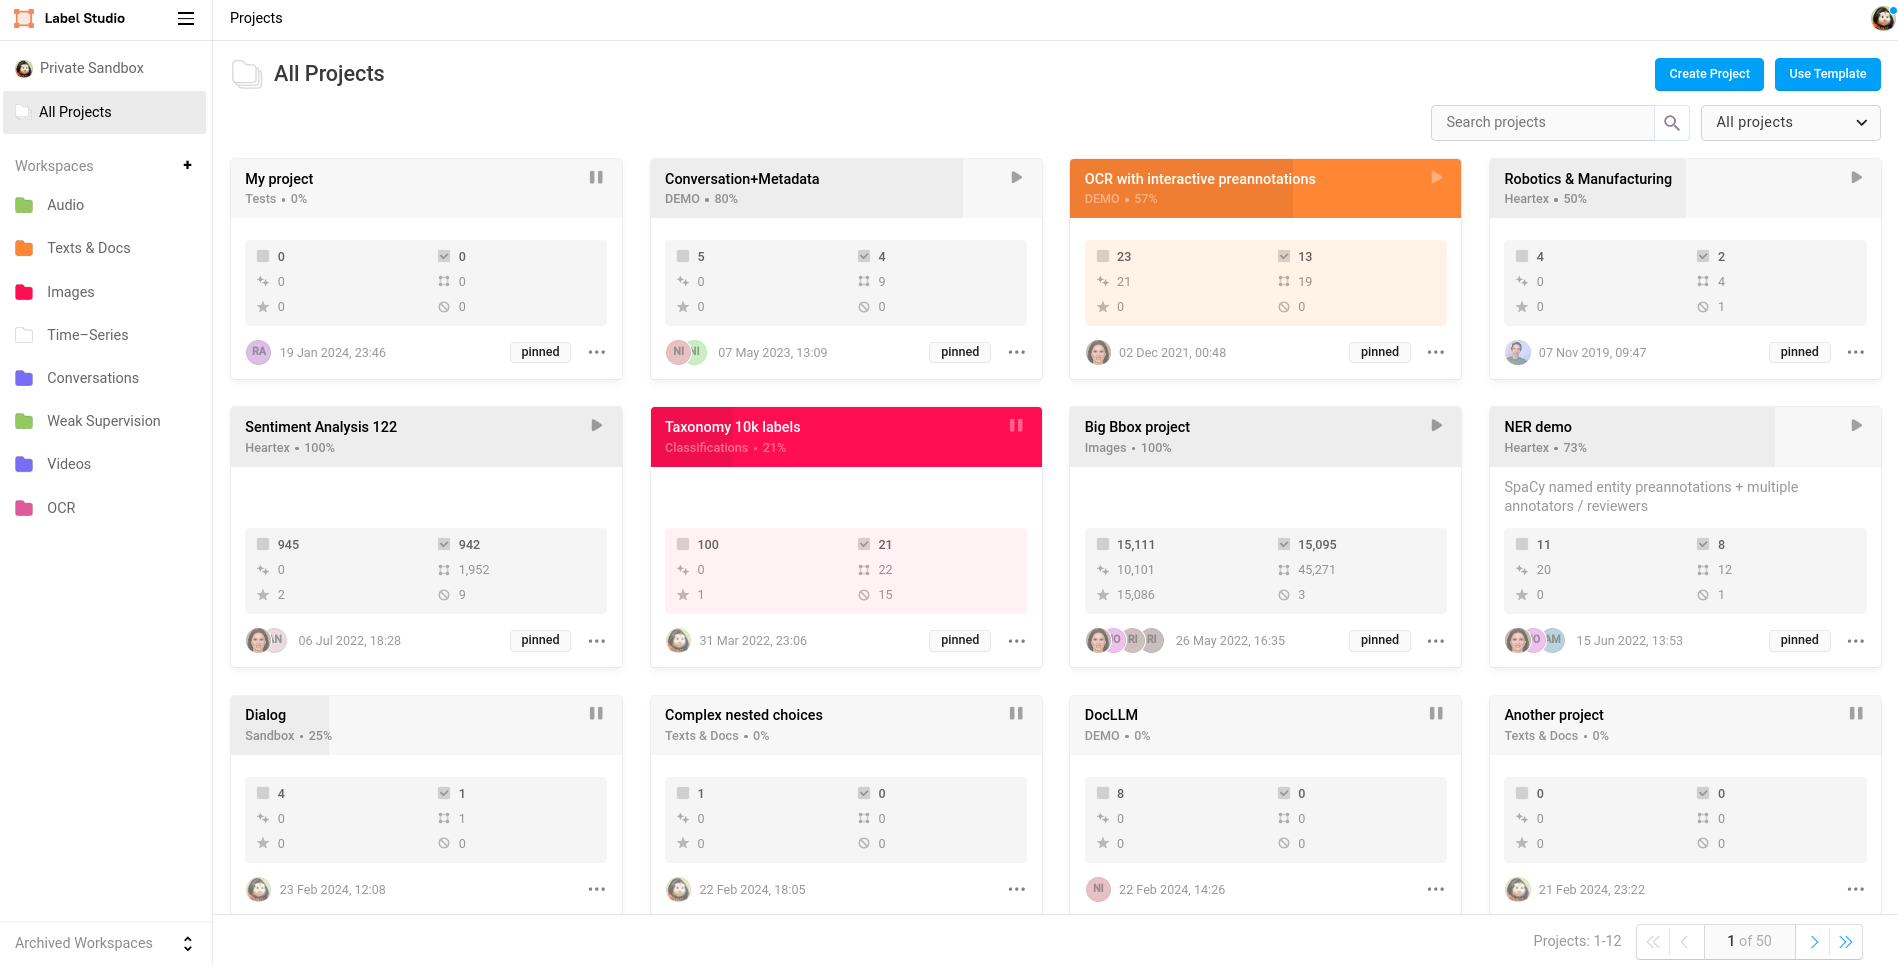
You can use the All Projects page to view projects across all workspaces.
Search projects
Use the search box in the upper right. You can search by project name.
- To search within a workspace, use the search field on the workspace page.
- To search across all projects, including those within archived workspaces, go to All Projects to perform your search.
The project search allows partial and case-insensitive matches.
Create a project template
A project template includes the following:
- Labeling configuration
- Most project settings
It does not include:
- Project tasks or imported data
- Project membership settings
- Task assignments
- External storage settings
To create a project template:
- In the project that you want to use as a template, open the Settings.
- In the General tab for the project settings, click Save as Template.
- Add a title and description for the project.
- Click Save.
Duplicate projects
When you duplicate a project, you can copy the following:
- Labeling configuration
- Most project settings
- Project tasks or uploaded data (optionally)
Duplication does not include:
- Project membership settings
- Task assignments
- Completed annotations
- External storage settings
To duplicate a project:
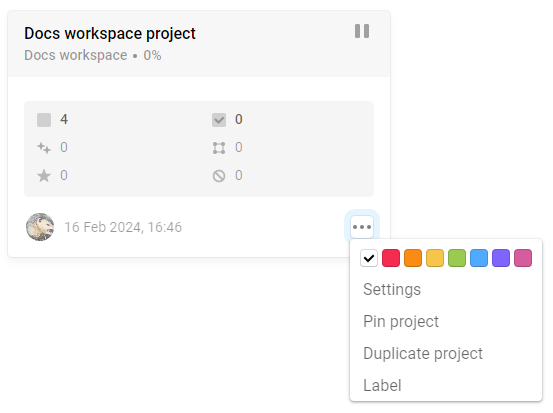
Click the overflow menu for the project and select Duplicate project:
Select the workspace in which you want the new project to be located.
Enter a new name and (optionally) a description for the project.
Select whether you only want to duplicate project settings (including the labeling configuration), or if you also want to include tasks.
Click Duplicate.
You may need to refresh the page before you can see the new project.
Move projects between workspaces
- Open the project and click Settings in the upper right.
- Under the General tab, use the Workspace drop-down menu to select a new workspace.
- Click Save.
Pin projects
To pin a project, click the overflow menu for the project and select Pin project:
Pinned projects are pinned to the top of the Projects page.
Delete projects
To delete a project, open the project settings and select the Danger Zone page. From here you can access the Delete Project action.
Deleting a project permanently removes all tasks, annotations, and project data from Label Studio.